
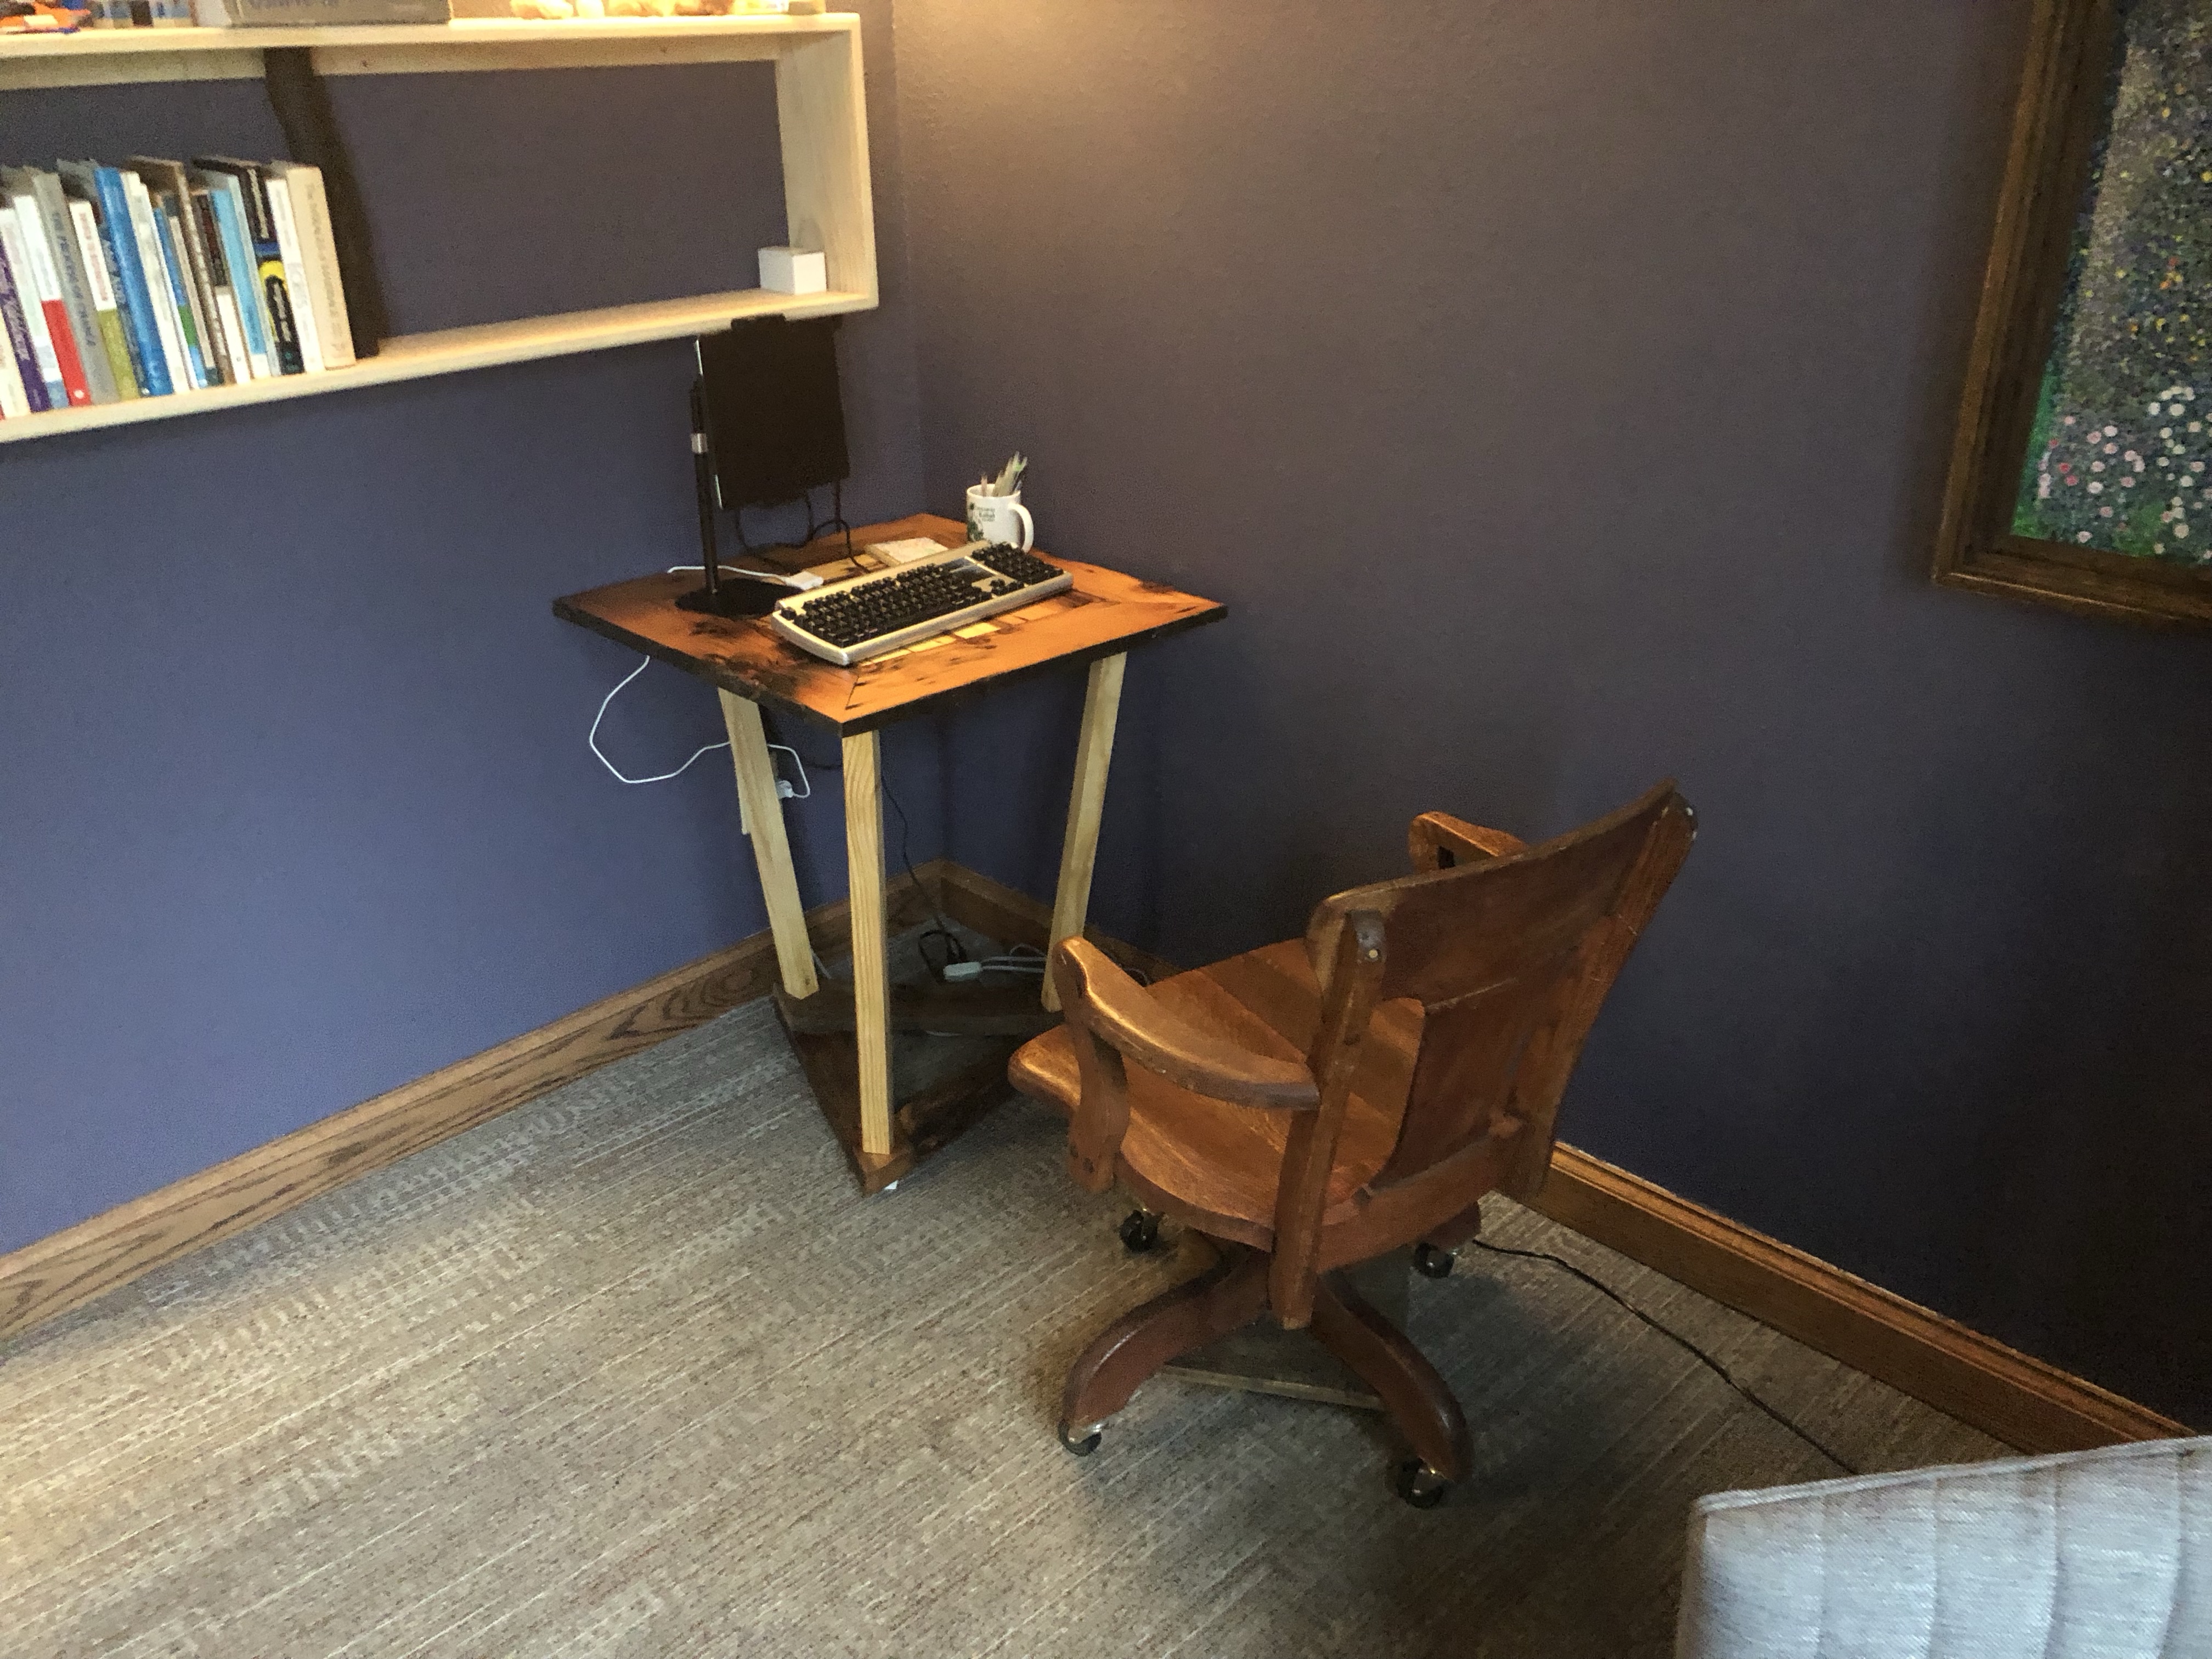
I moved to a new job last year, which provided a number of reasons to not write here. It also provided a reason to need a new desk, one being the small corner of my new office into which a desk best fit. Being a psychotherapist now, typing or anything-ing at a desk only occupies a few hours a week, and with a smallish office the literal and visual footprint of the desk could be modest. That and woodworking has become a major interest of late, making this a great excuse for a furniture project.
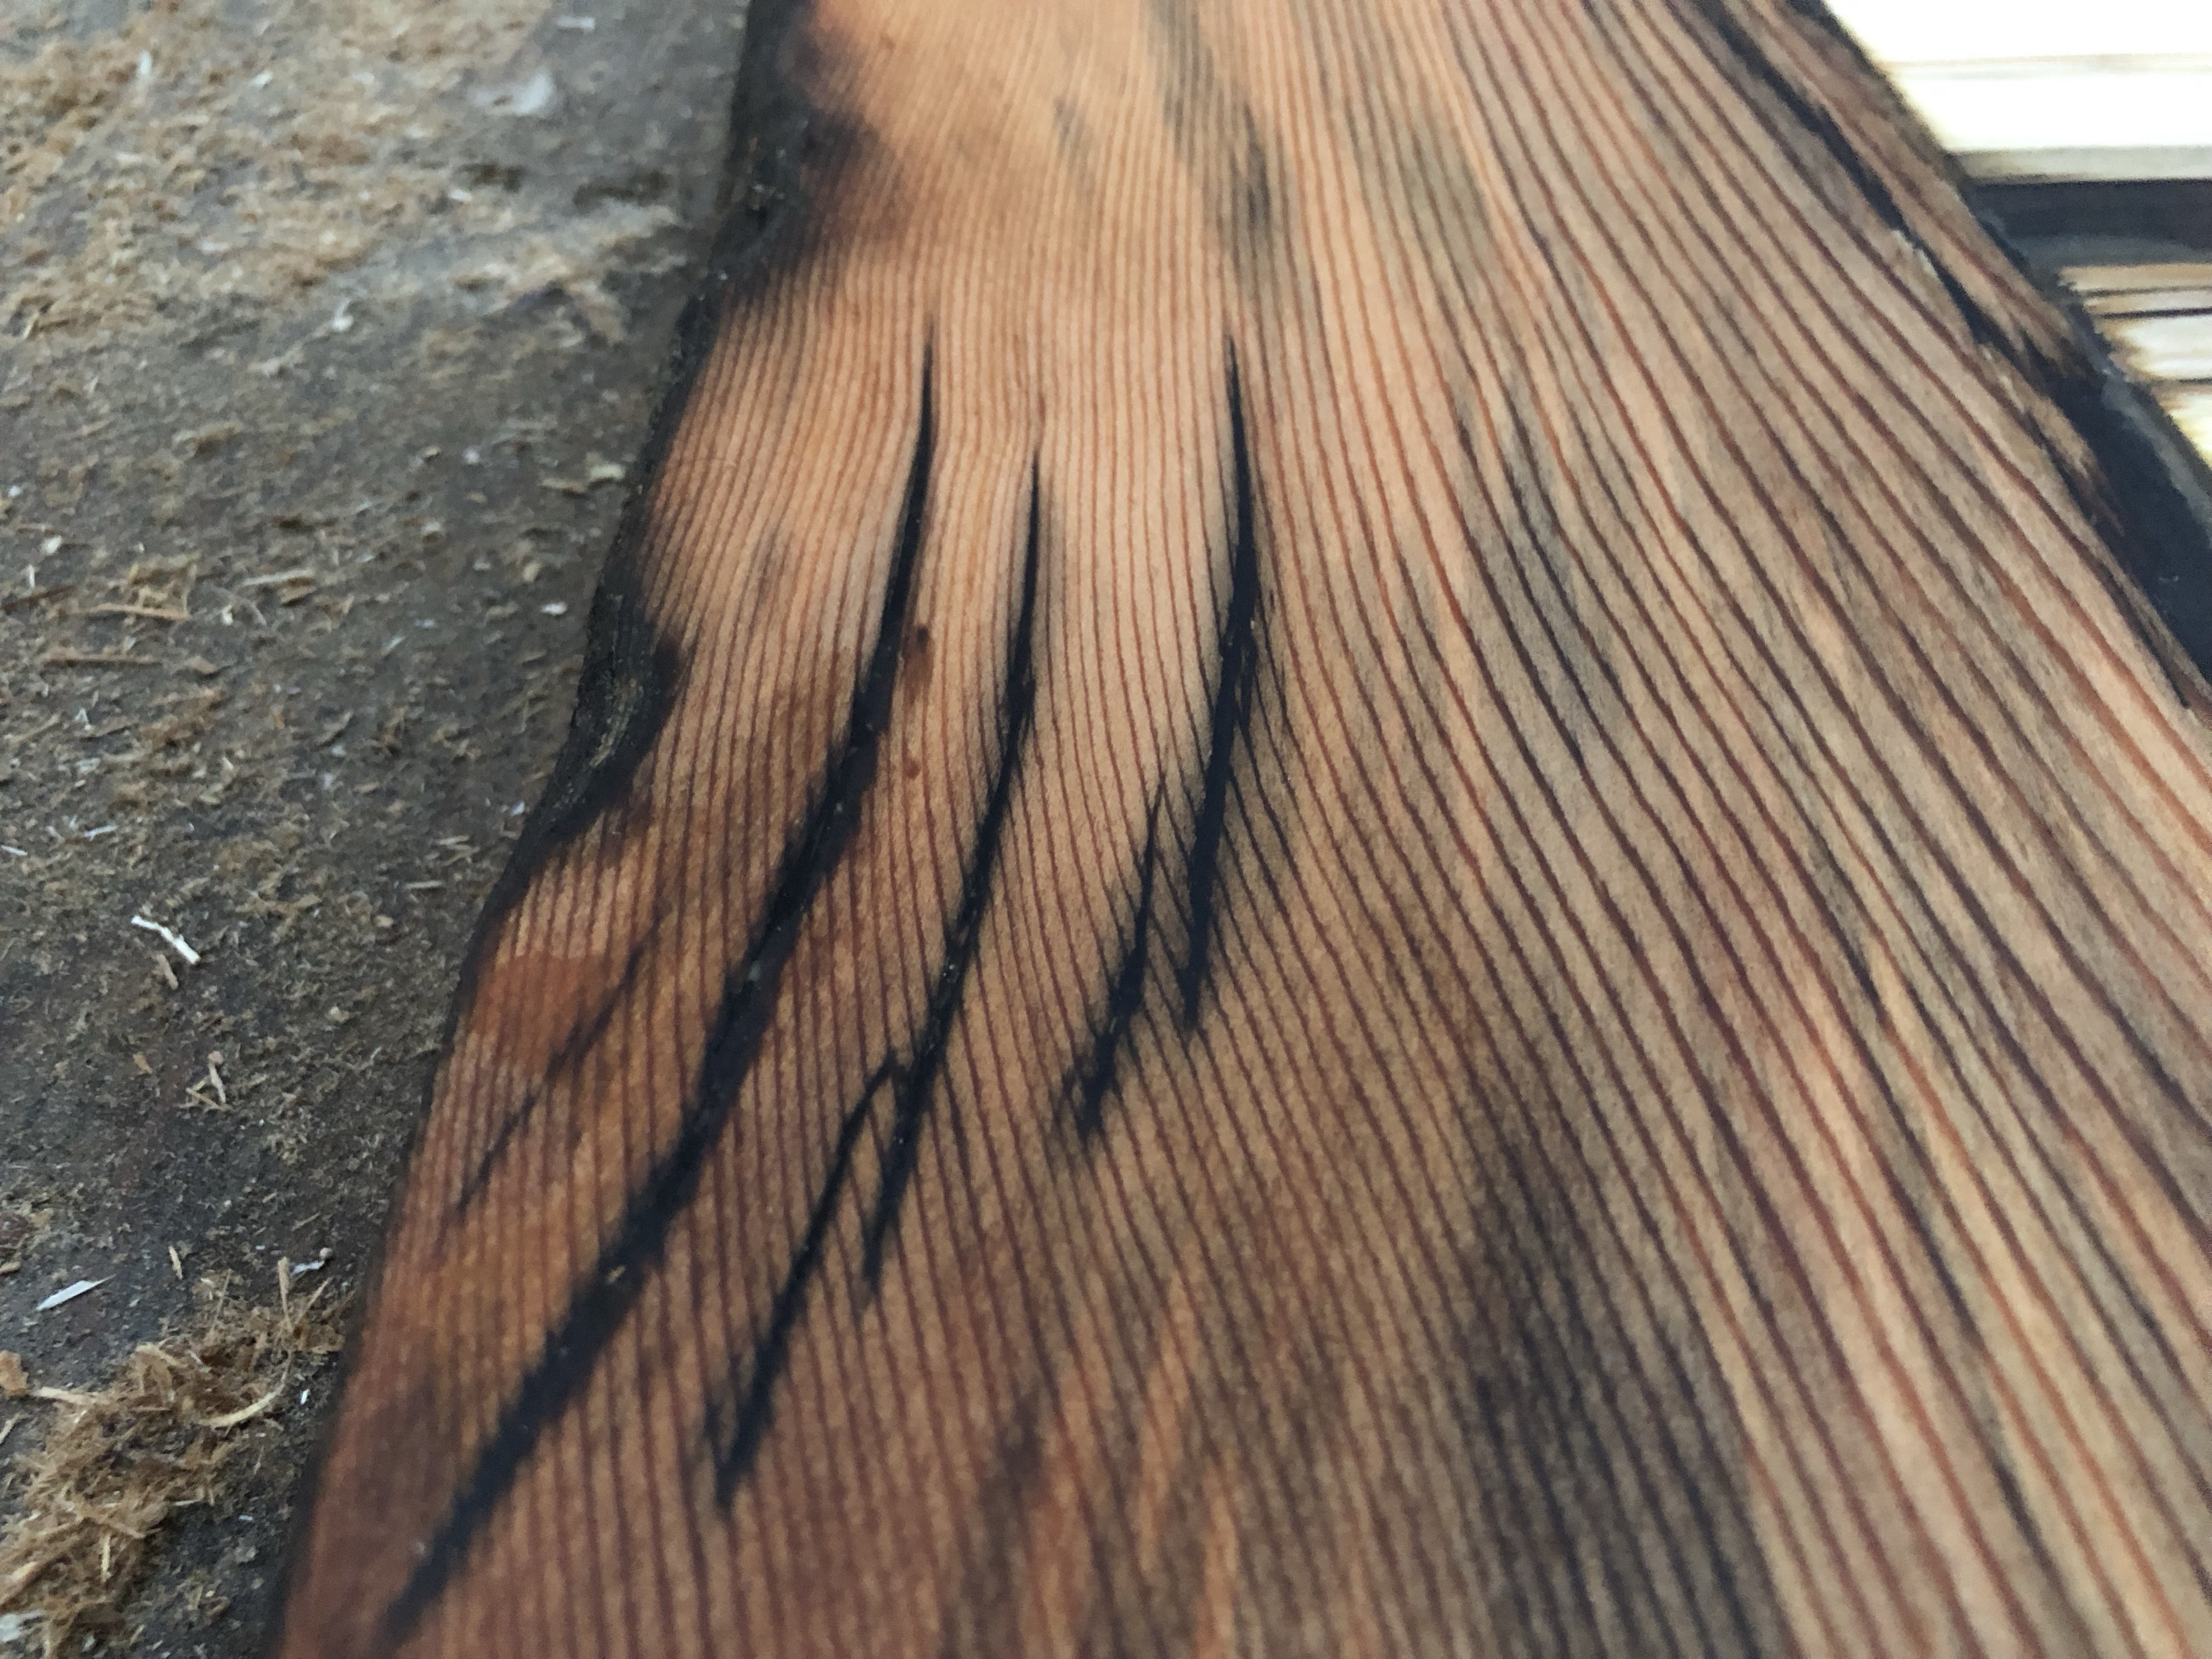
The desk starting with “reclaimed” wood salvaged from a pile in the woods. This lumber is of historical and nostalgic significance to me and probably a very few others, and likely thanks to being frozen much of the year, was in pretty good shape for being on the ground for so long. With the idea being a roughly 2 foot square top, I mitered a wider board into a square, screwed and glued this together, and infilled with smaller boards, gluing as I went.

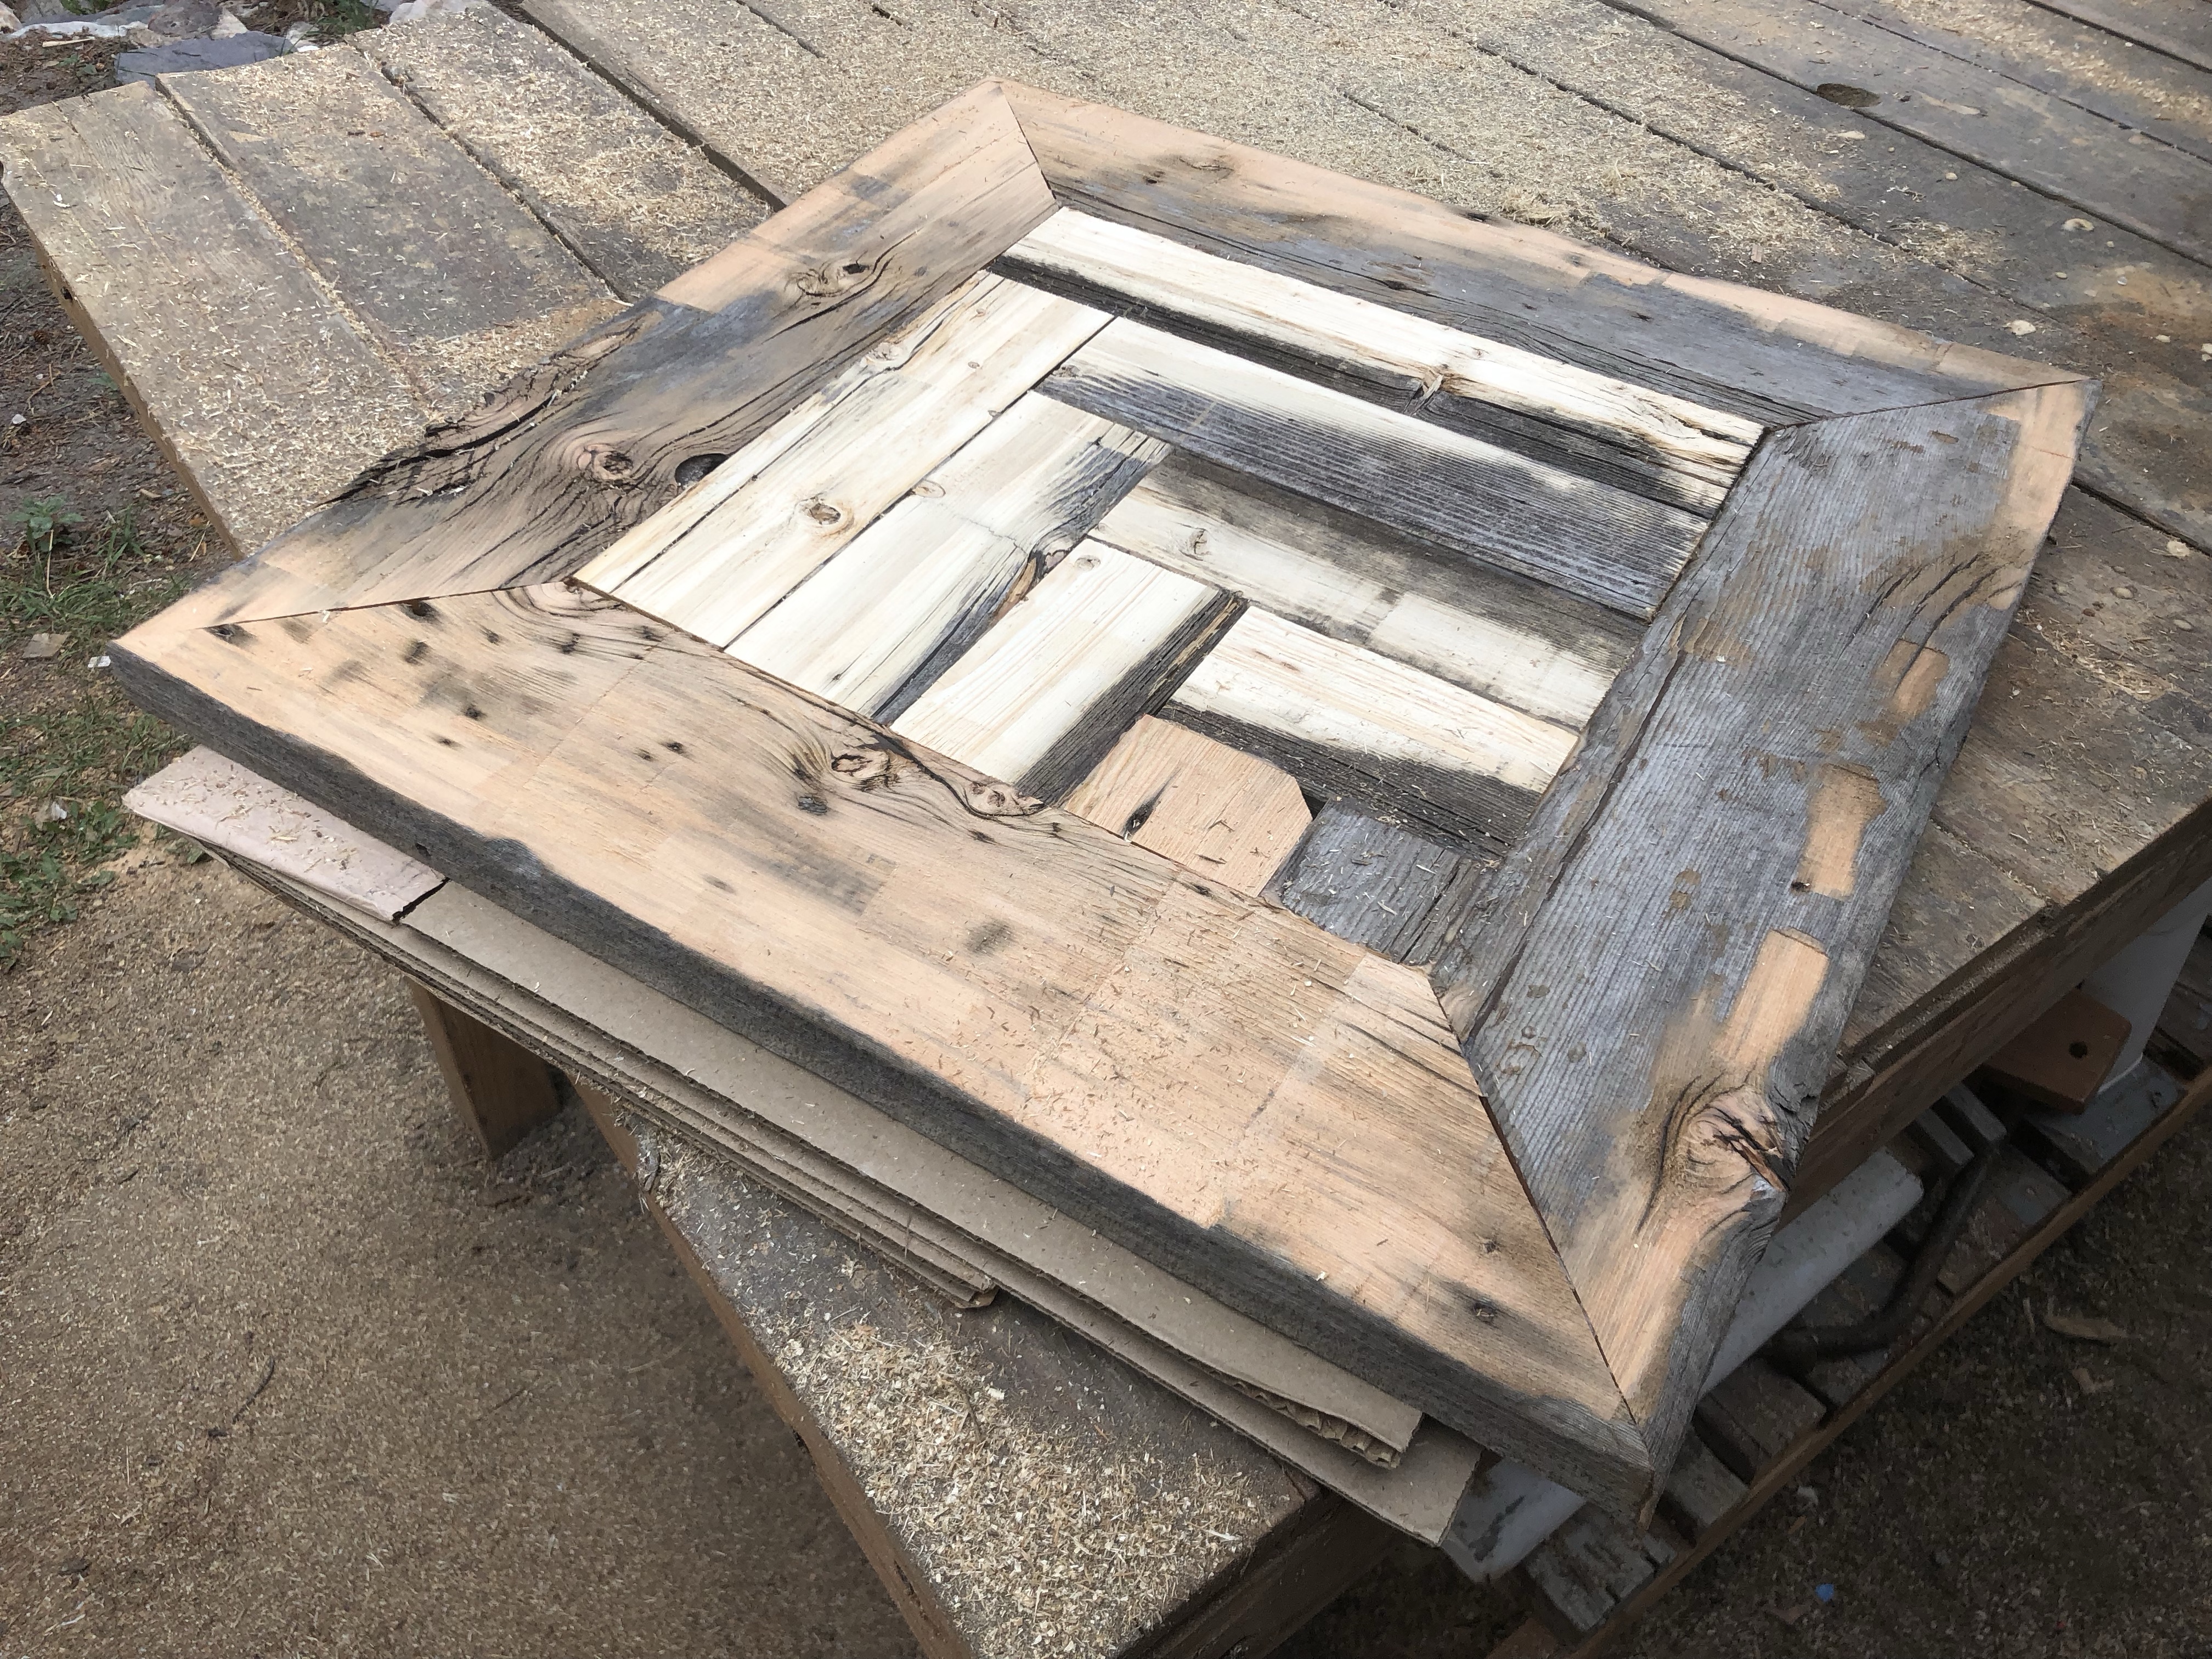
After the glue was dry, a lot of work with the (electric) hand plane and then orbit sander got the top flat, and ready for epoxy.

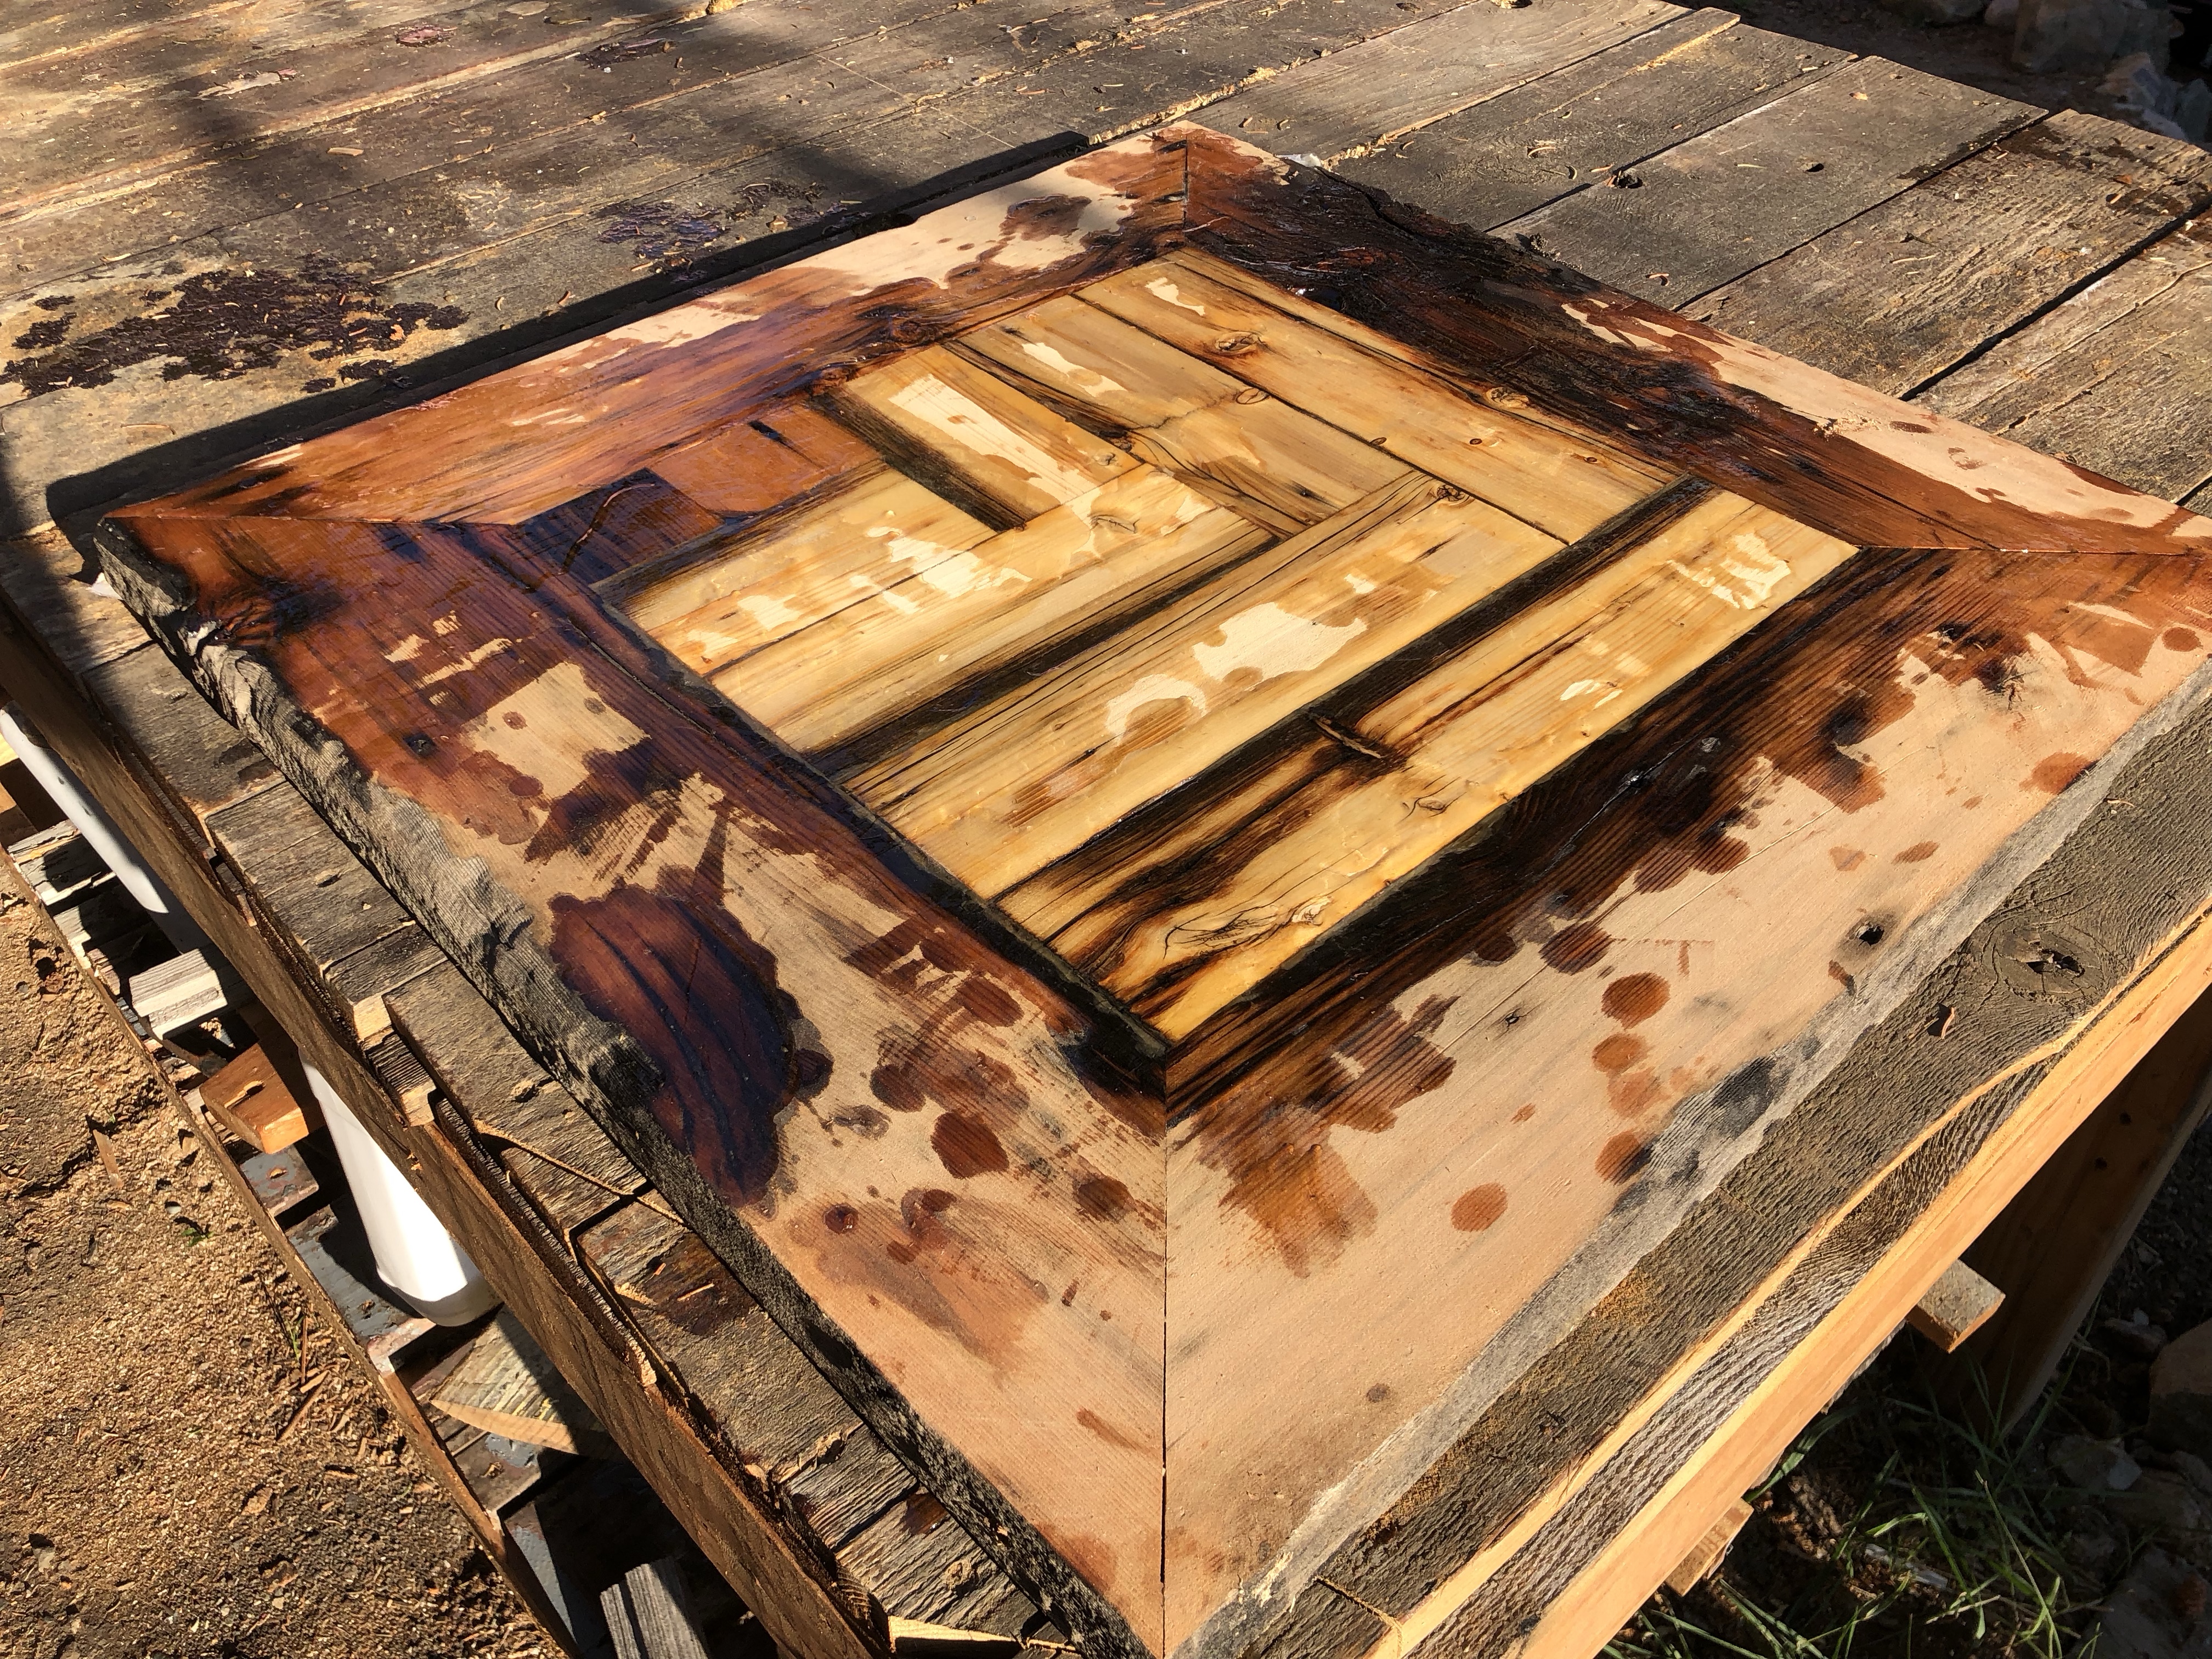
The epoxy cured while we were out of town for a week, and more planing and sanding got that back to flatish, with a ton of epoxy fill work to come. This was the project where I learned that the electric planer combined with epoxy and soft pine results in a ton of tear out, which made life harder.


Epoxy tabletops require a shitton of fine tuning right before finish time; filling little gaps, sanding, filling more pits and holes, sanding again. I used traditional epoxy resin for the big stuff here, before moving to Clearweld for the detail stuff, whose cure time expedited the process massively.


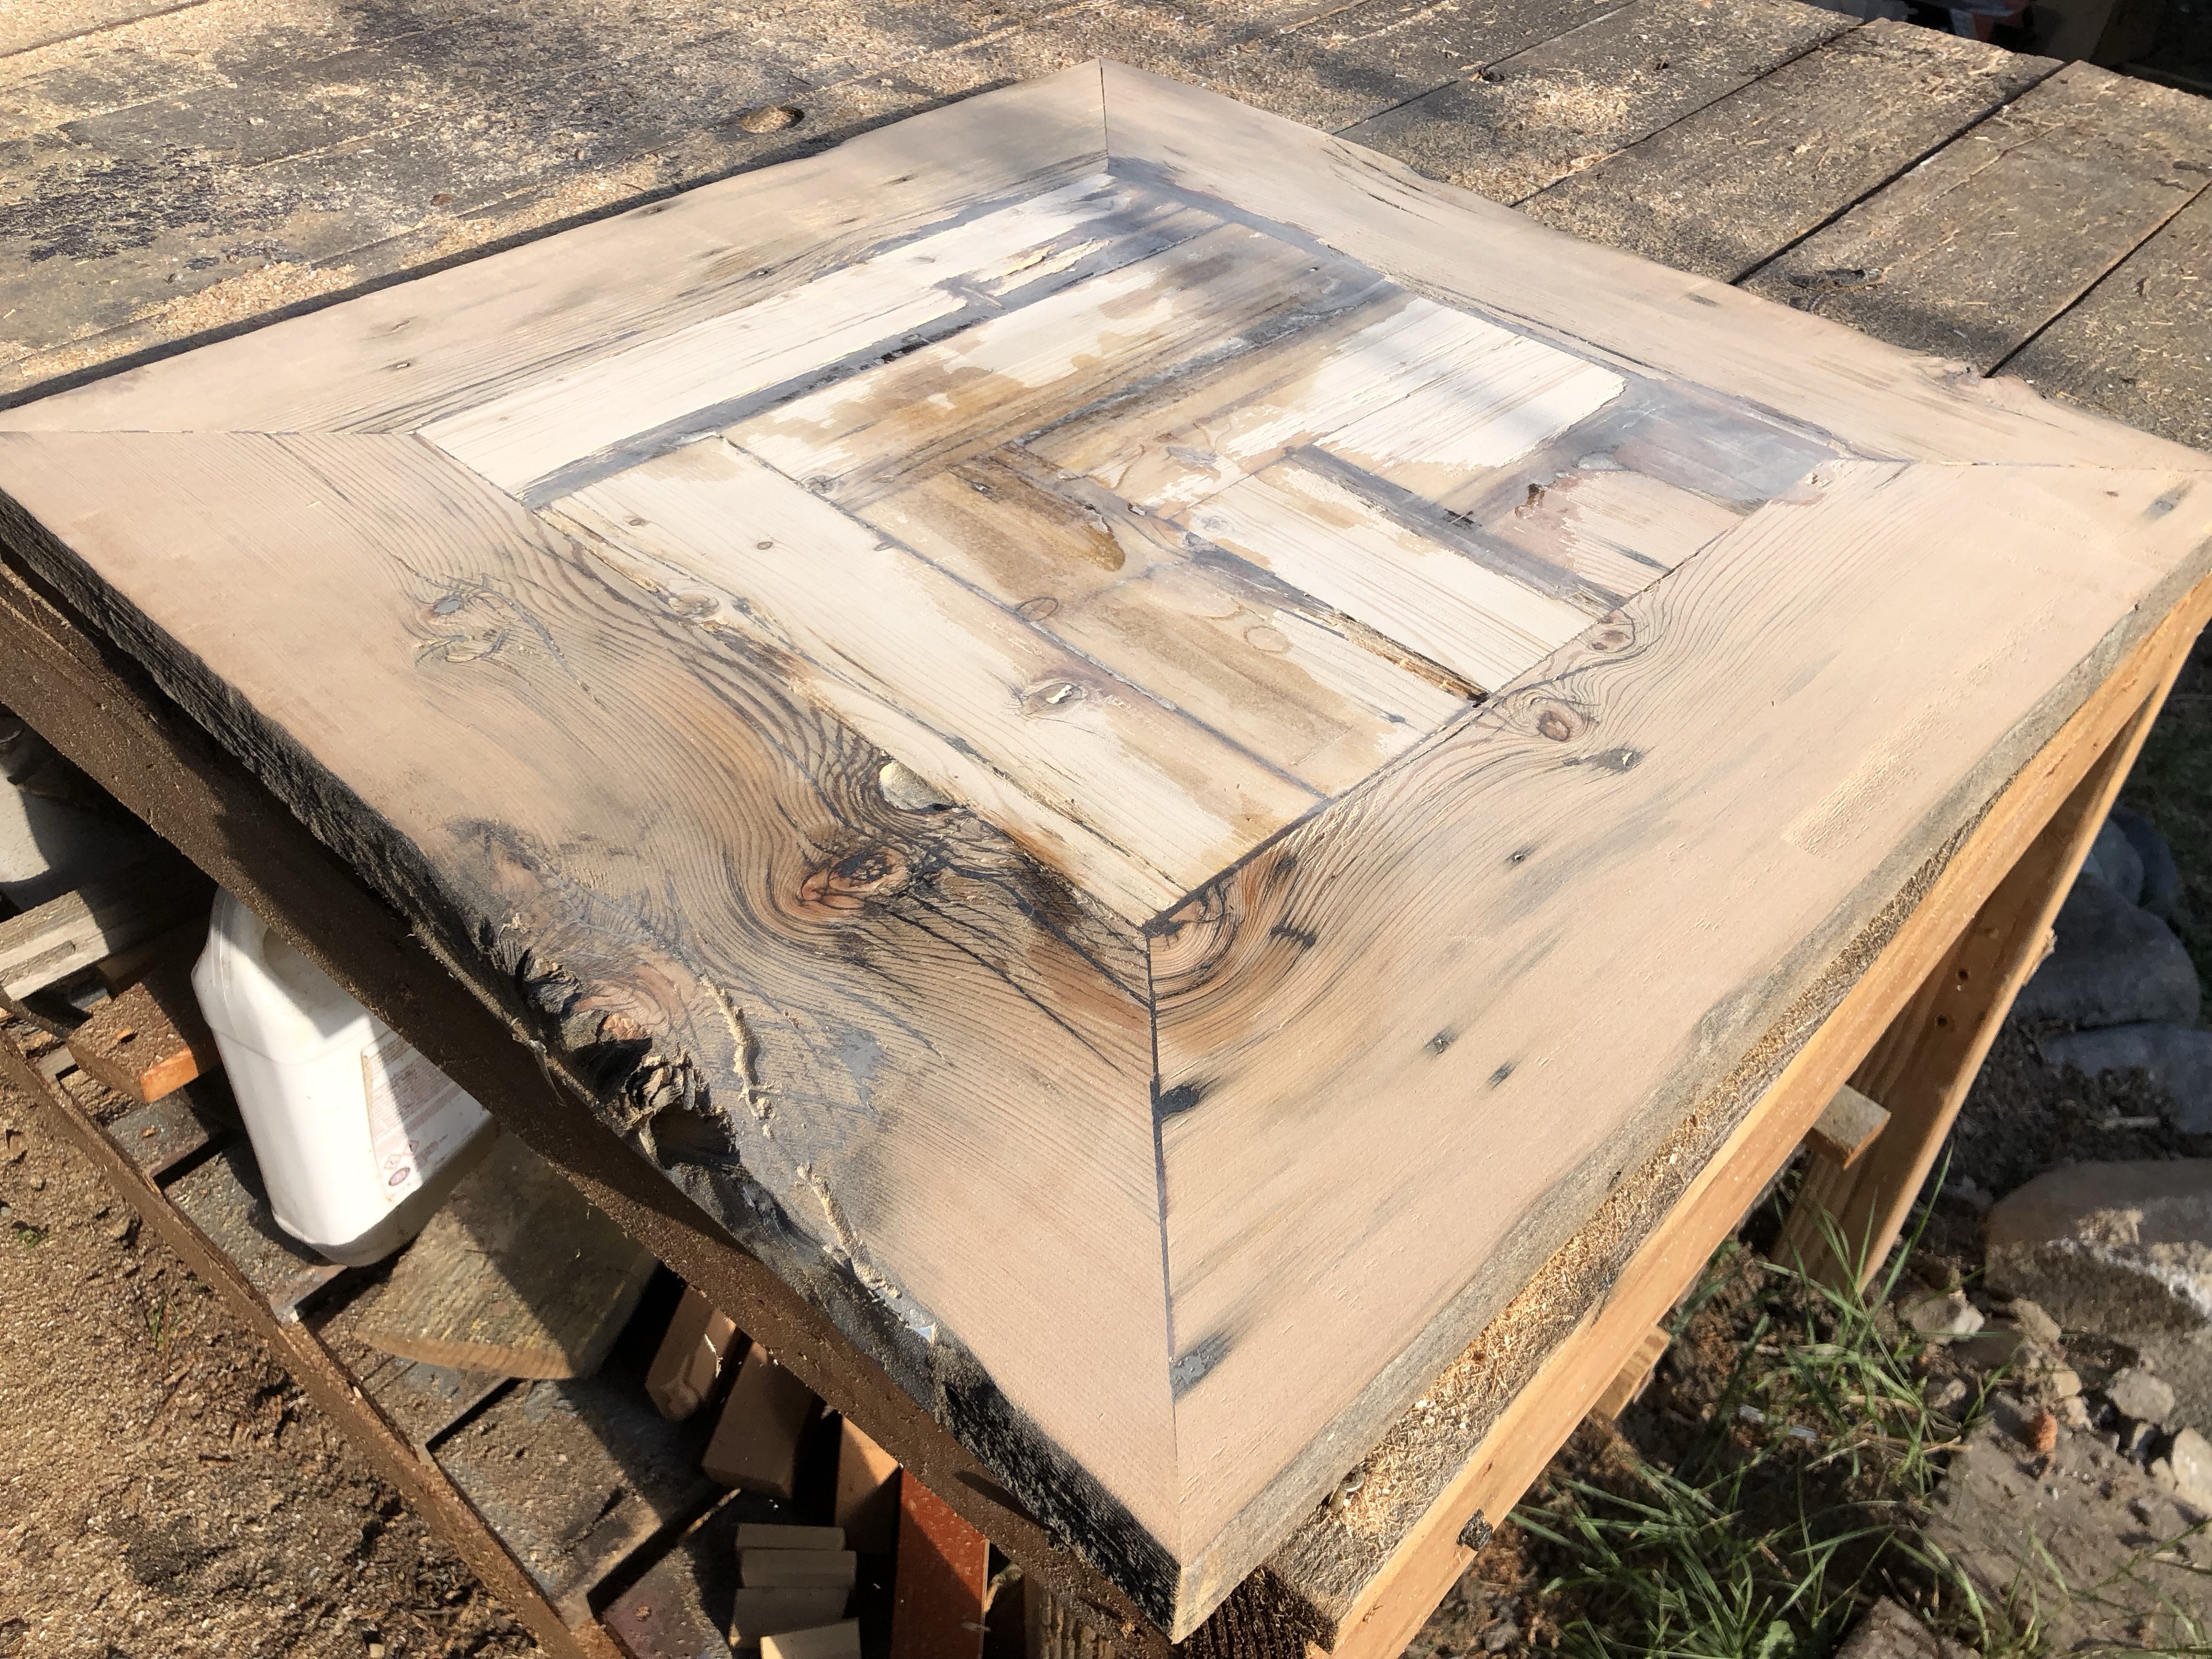
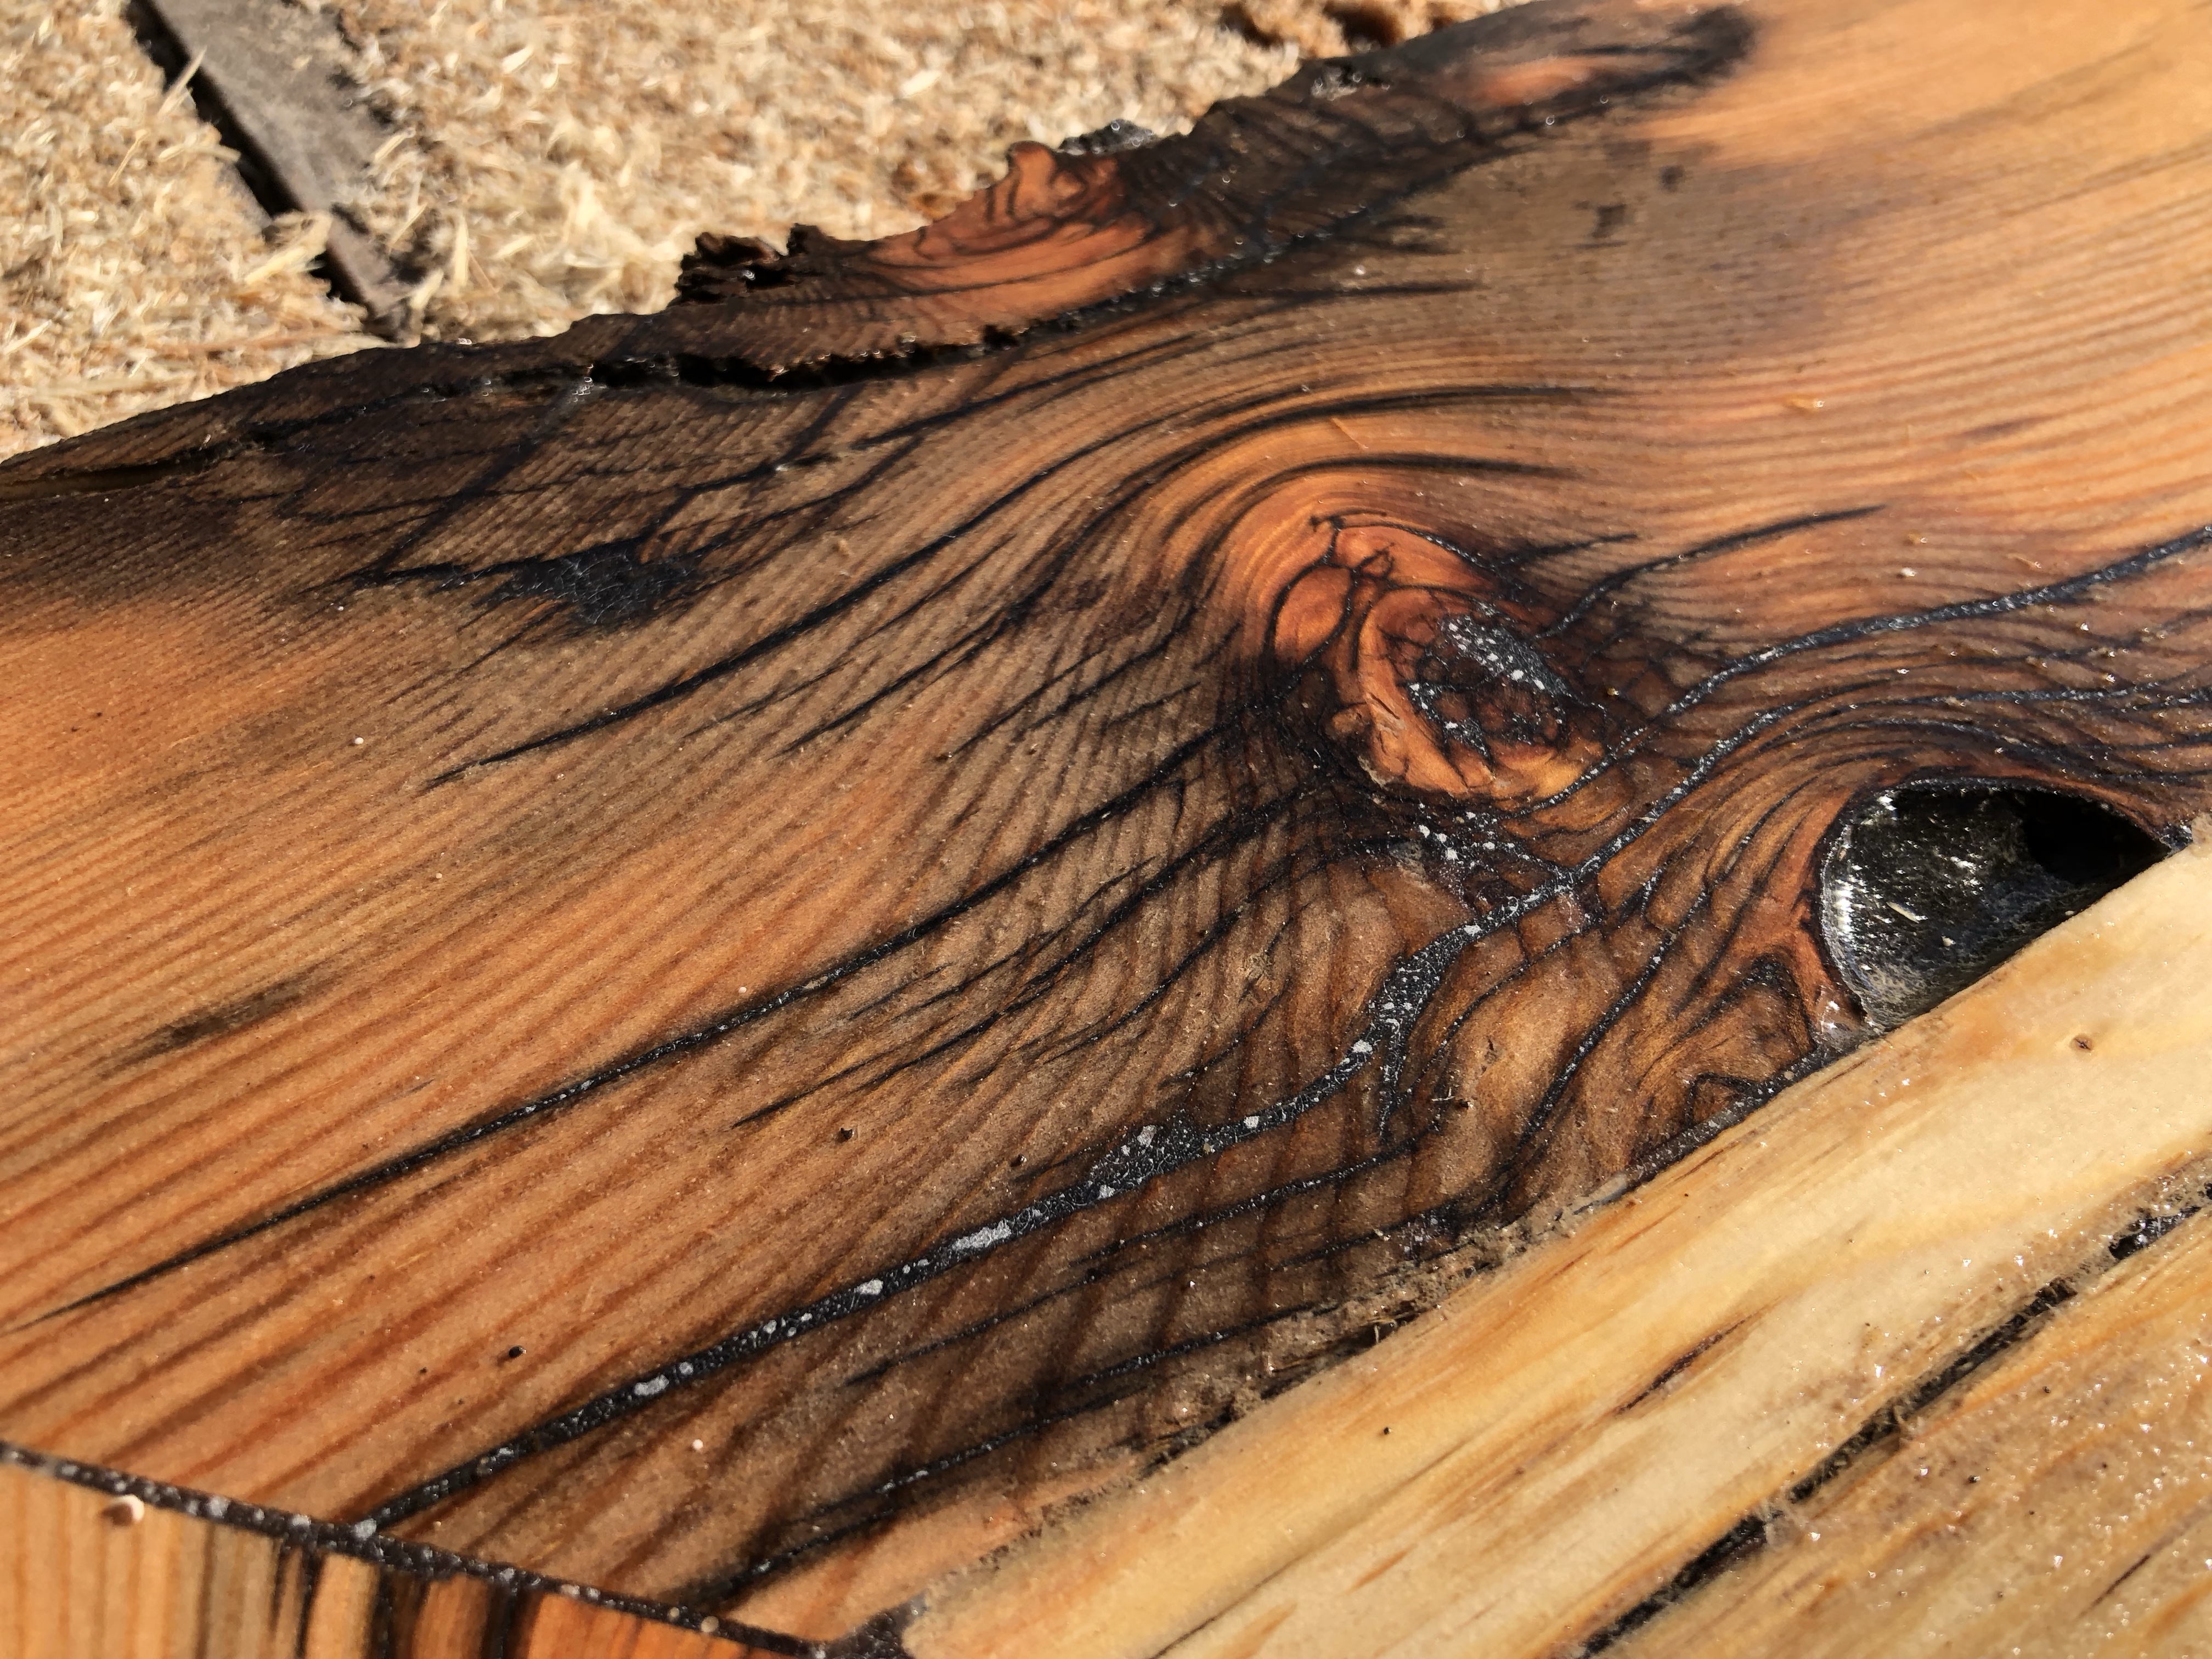
Finish was a double application of pure Rubio Monocoat, a fancy hard oil finish that works with both wood and epoxy. It takes a while to cure, but once hard provides soft wood like this stuff a nice level of protection against wear and tear.
I struggled with a few designs for the base, with the first draft making it into my actual office, but being neither stable nor aesthetically quite right.
Another trip to the salvage site provided more material, and another concept, with a traditional hollow pedestal base that would bolt to the top for stability.

With the pine being soft I glued a piece of ply to the bottom, to provide better retention for threaded inserts.
I neglected to photograph the base building process, which was similar to the top but even more tedious, as each side of the pedestal had to be finished, epoxied, cure, sanded, then repeat.


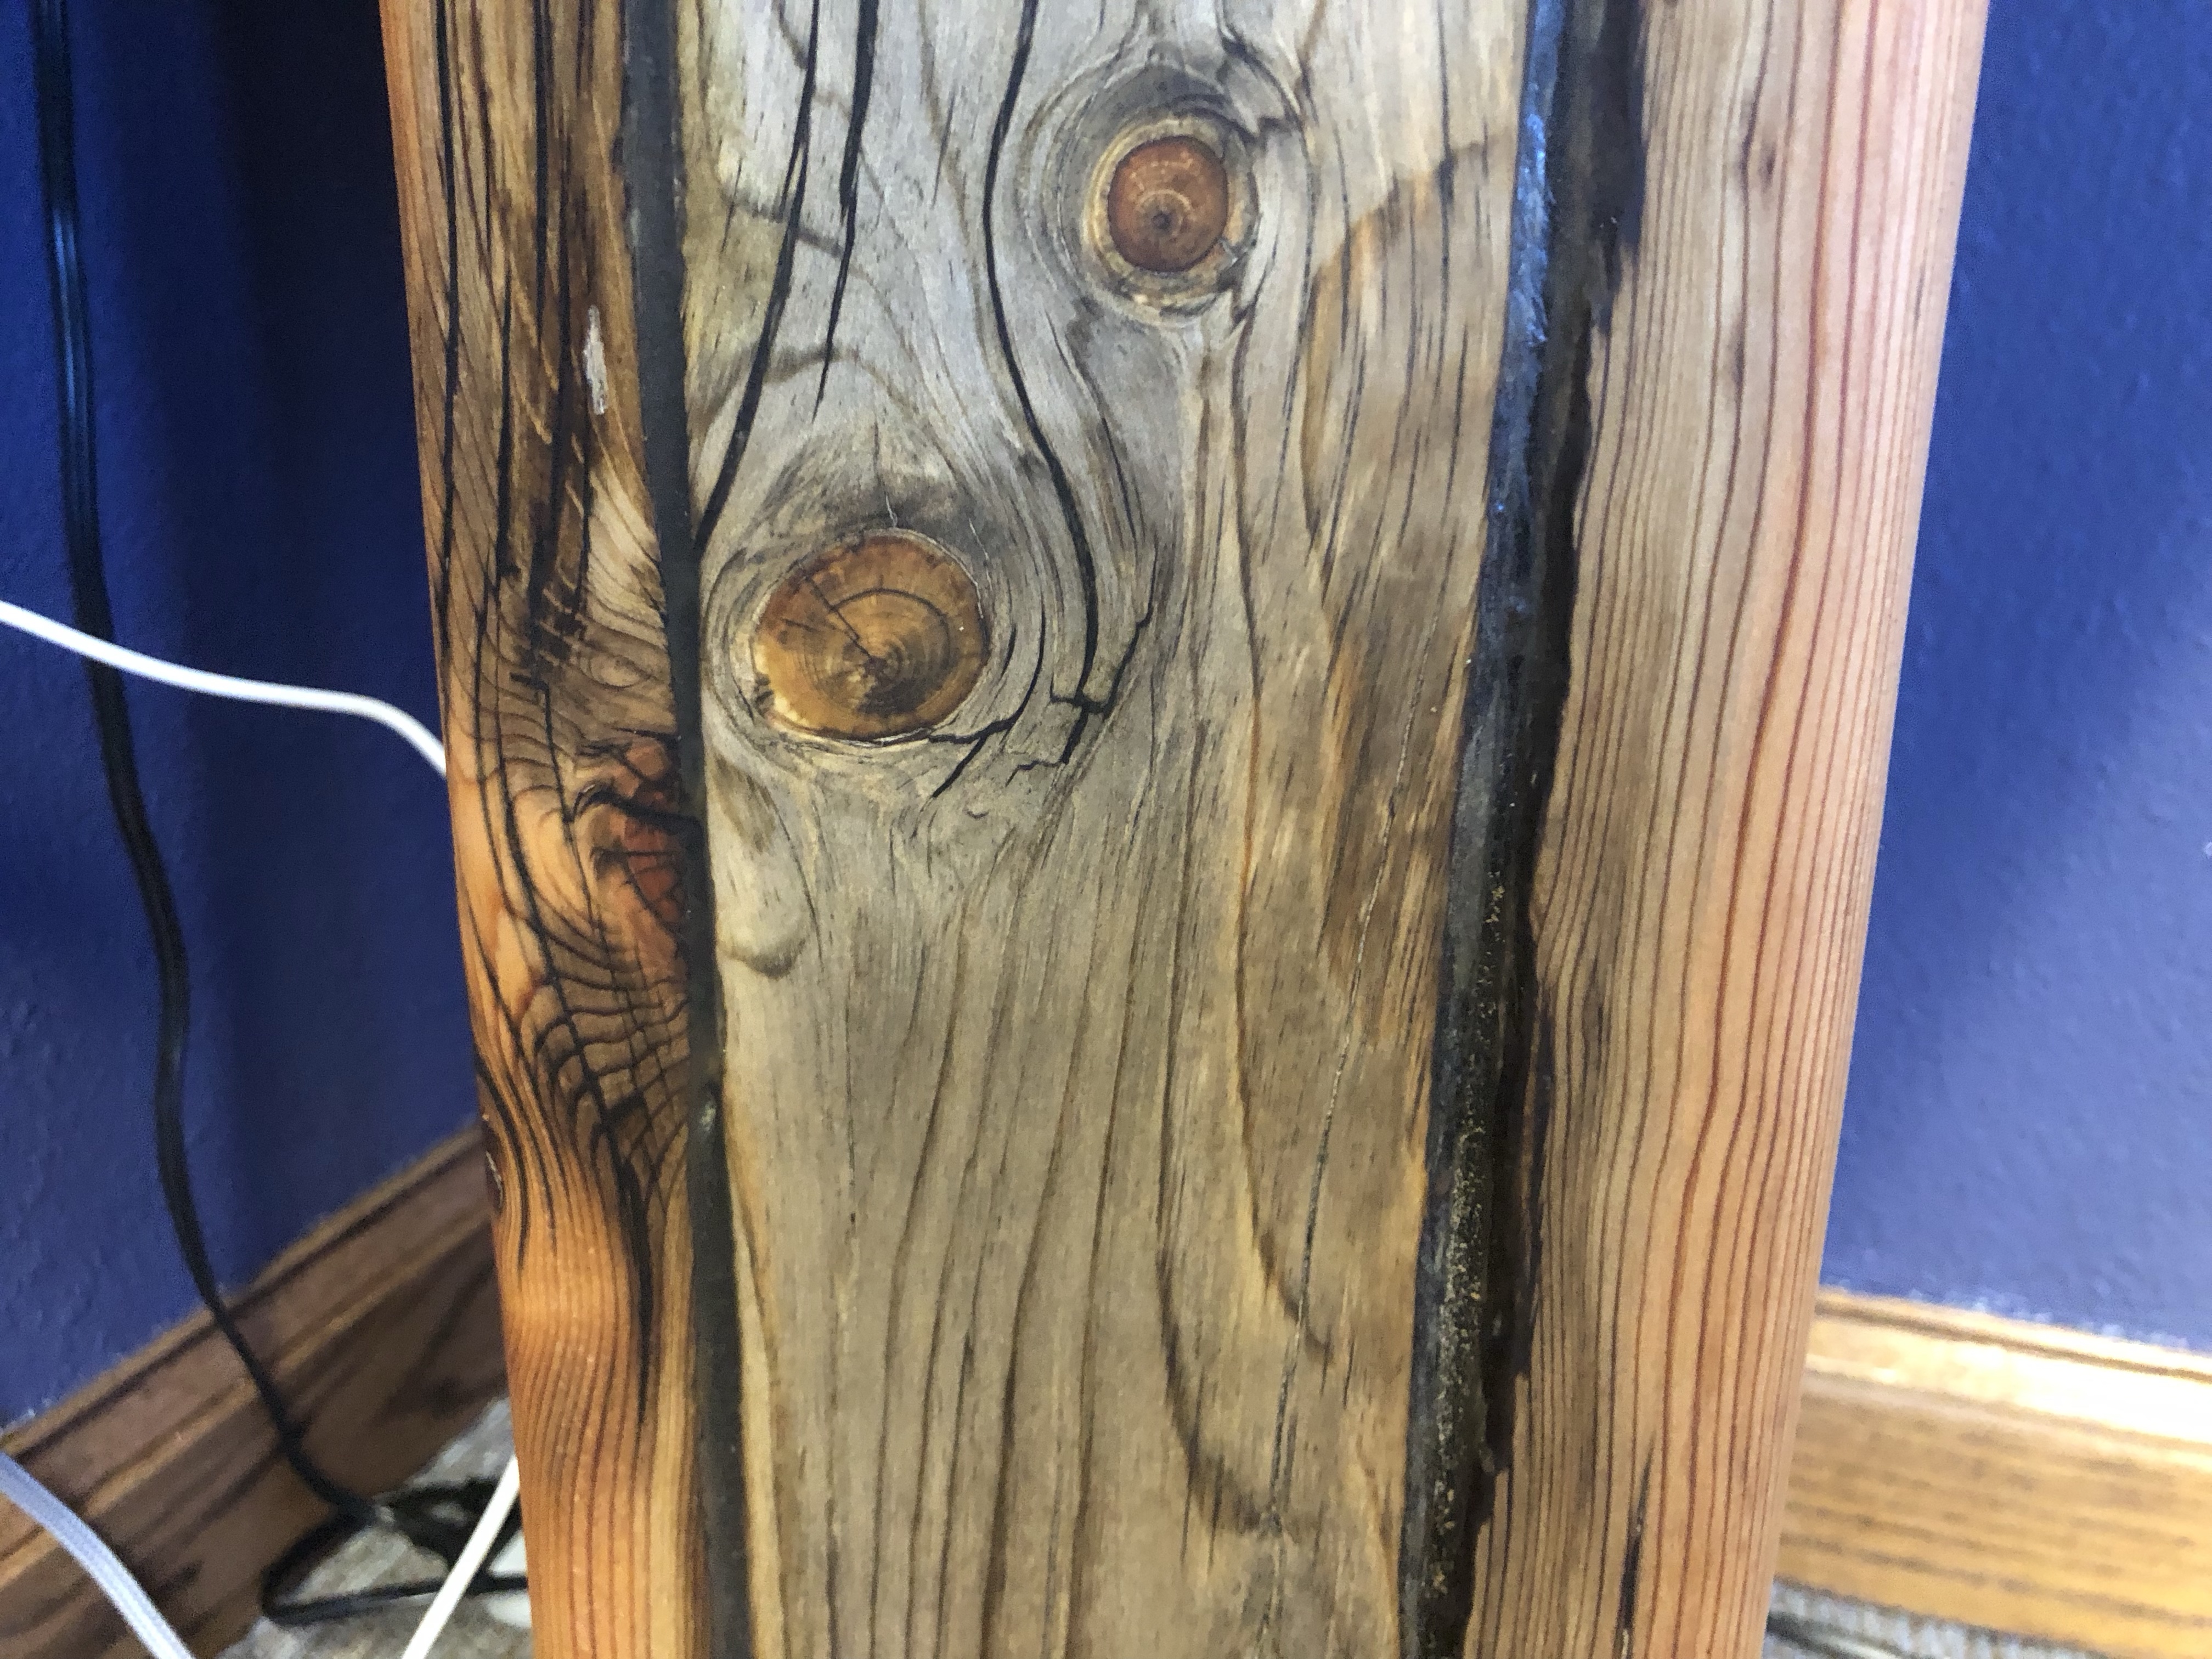
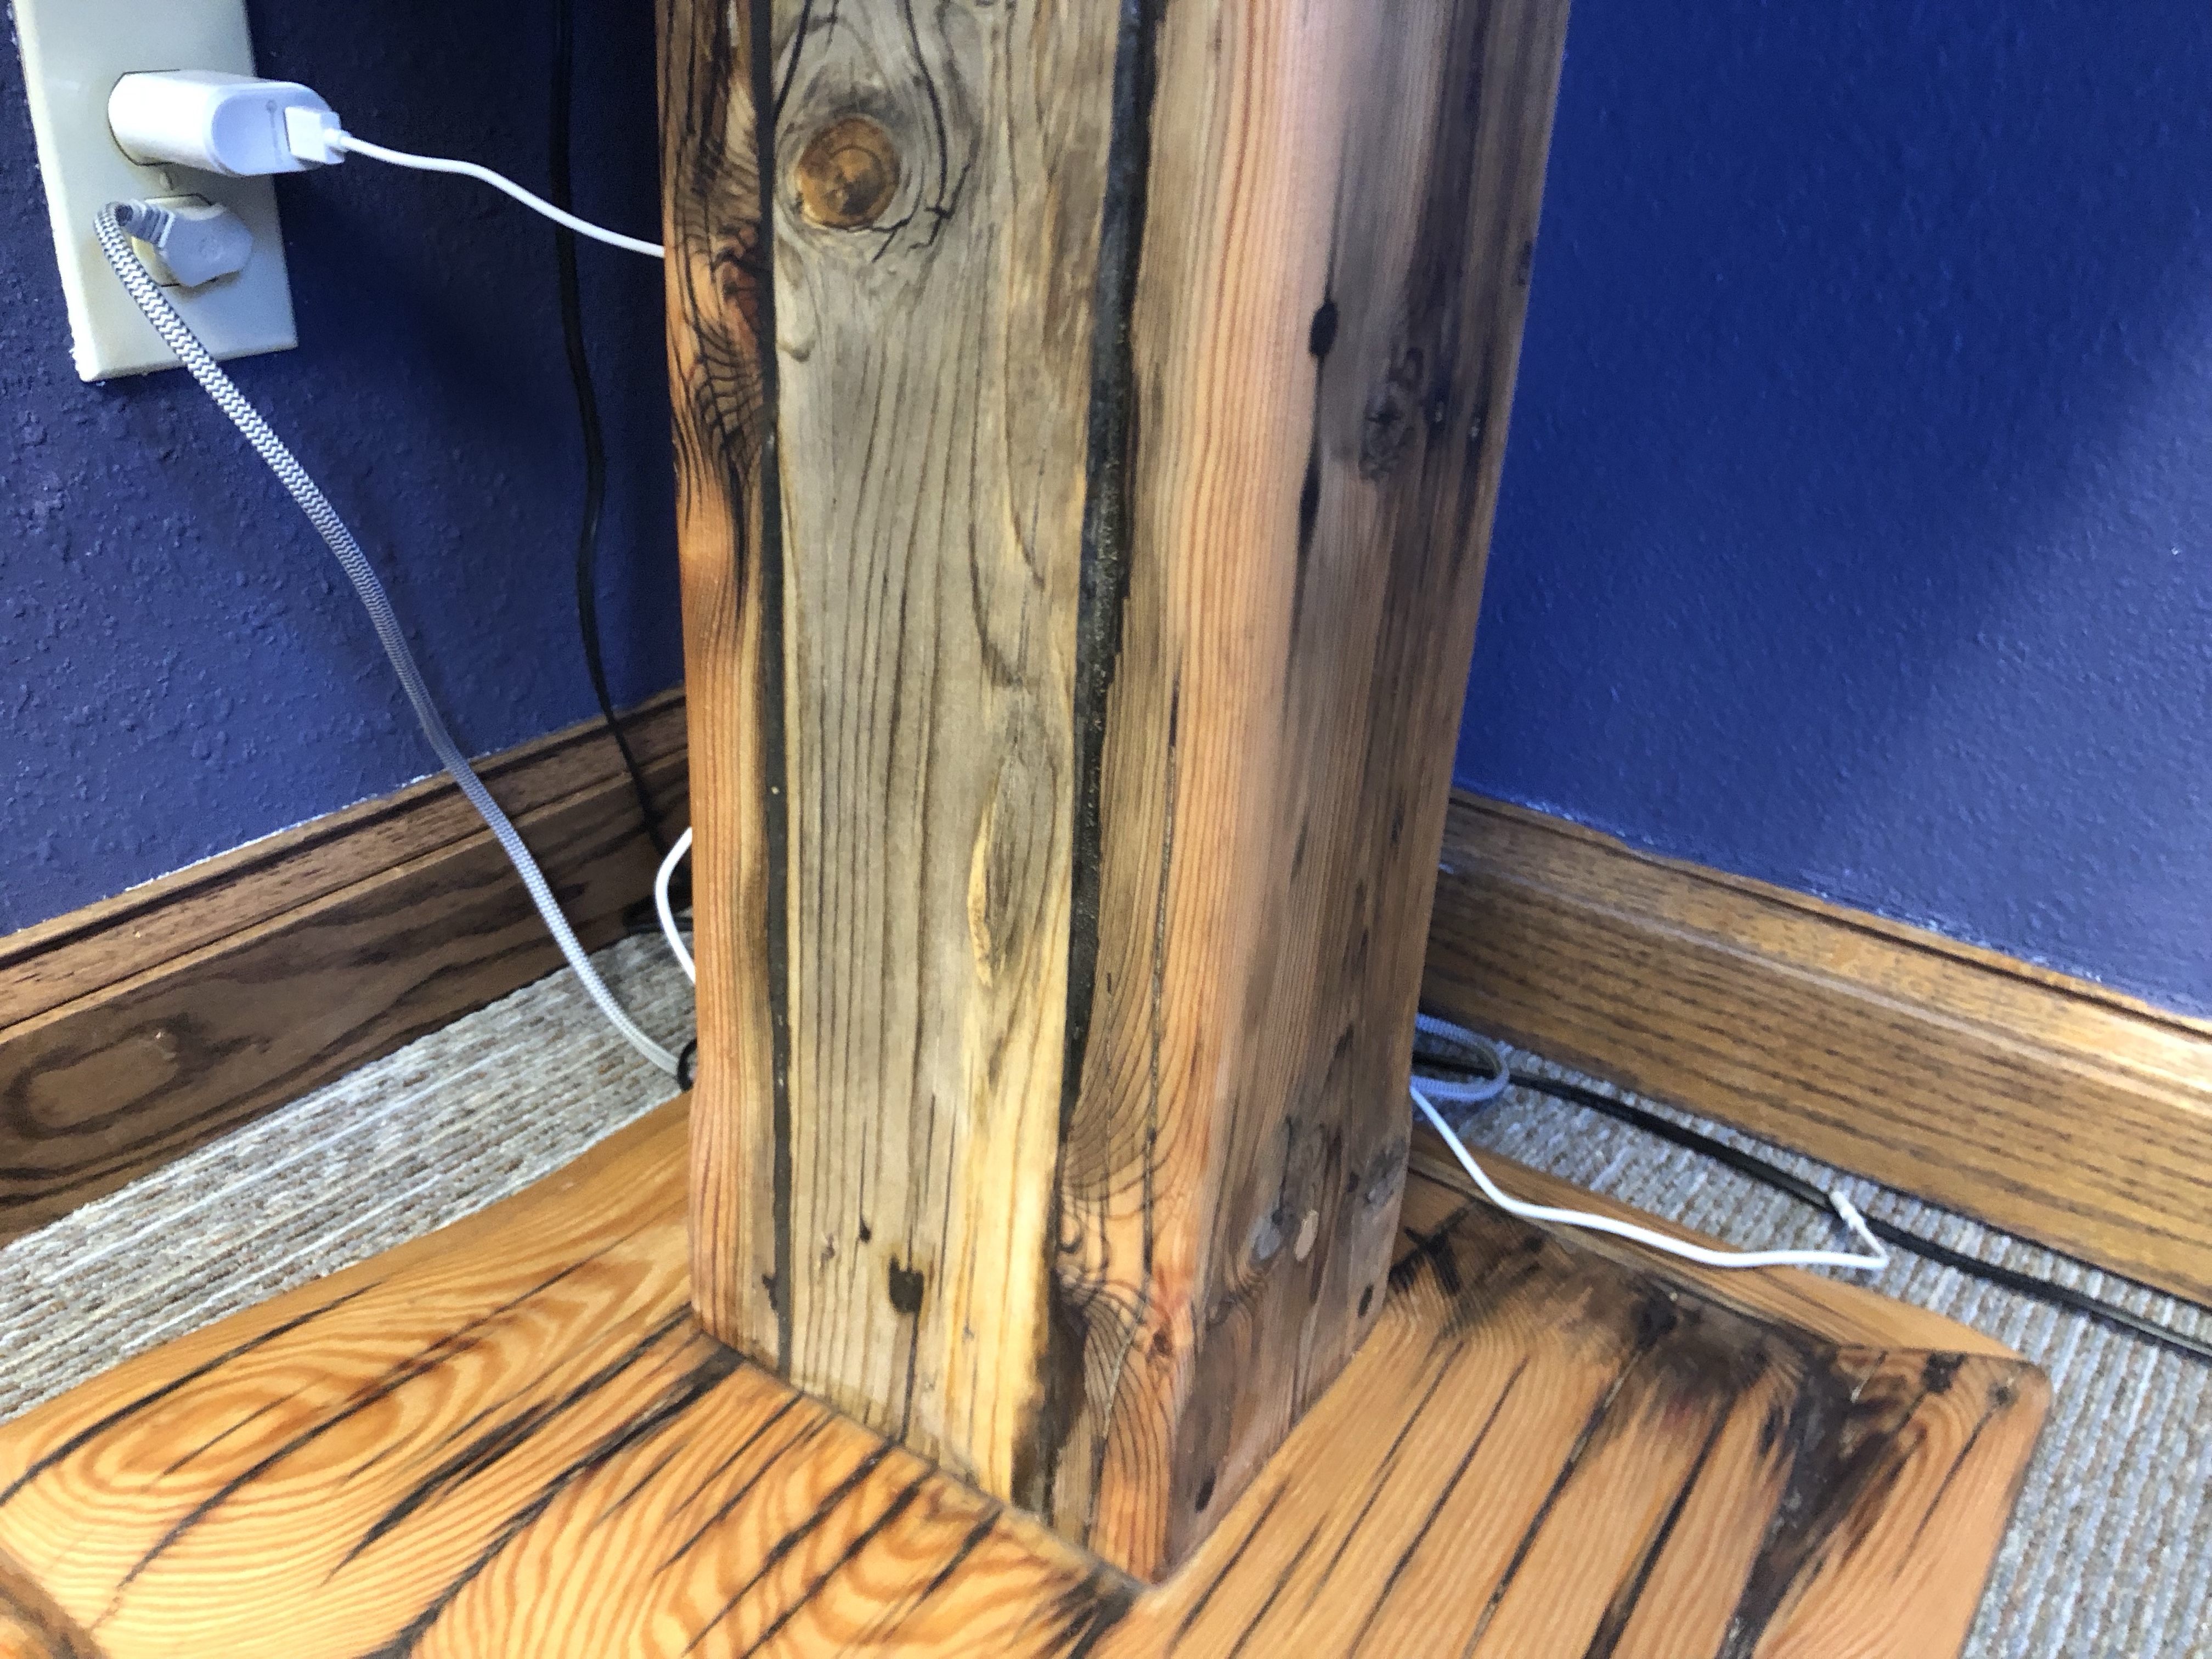
The base is alternating layers of the same pine, sculpted to be tree-ish and organic in appearance. I’m pleased with how it turned out.
The added mojo of having this, my favorite project (of any kind) yet in my office cannot be underestimated. The only issue, which I anticipated, was in using undried wood, with the top, base, and to a much reduced extent pedestal having cracked in a few spots due to seasonal wood movement and drying. At some point this summer I’ll re-epoxy and finish the top, and probably base, and see what happens.
More past projects to come.

Leave a comment