My ultimate hunting pack

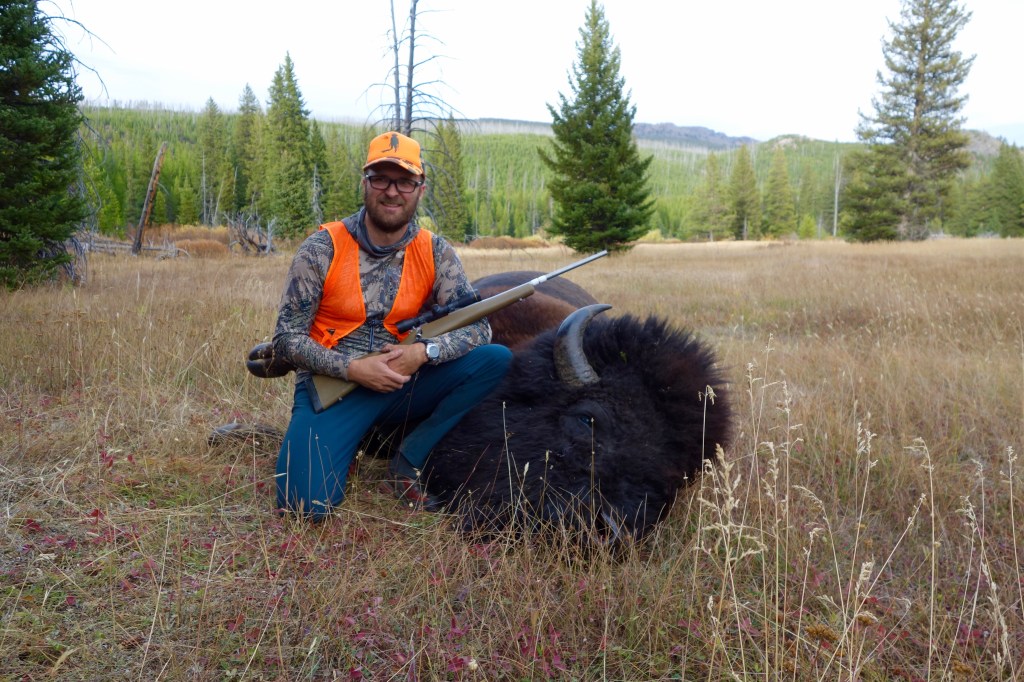
Last month a reader contacted me about a pack bag for a Seek Outside frame, mentioning these bags as inspiration.  Primary use for the pack would be elk hunting in the Olympics, with capacity and simplicity as main design priorities, along with side pockets which would hold a sizeable tripod and 80mm+ objective spotting scope.  After some discussion, we agreed that I’d try to thread the needle and make side pockets which could both hold these hefty optics, and provide on the fly access to water bottles, backpacking style.

This was a enjoyable project, being in essence the 6th or 7th refinement of a set of dimensions I’ve settled on as ideal for an expedition pack, while tweaking features and materials based on experience.  Hunting, and then packing, elk in coastal rainforest is one of the more demanding activities I can imagine in terms of pack durability and weatherproofing, making the excellent X50 tactical fabric (in ranger green) an easy choice.  In the tactical series the x-ply is a kevlar thread, and far flatter than the traditional dacron, in theory removing it as an abrasion point.  Is does add tear strength, though I can’t see this being useful in the field given the toughness of the face fabric.  The base reinforcement is 500D Cordura, and wraps up the top a few inches for max security while sliding down talus and alder thickets.

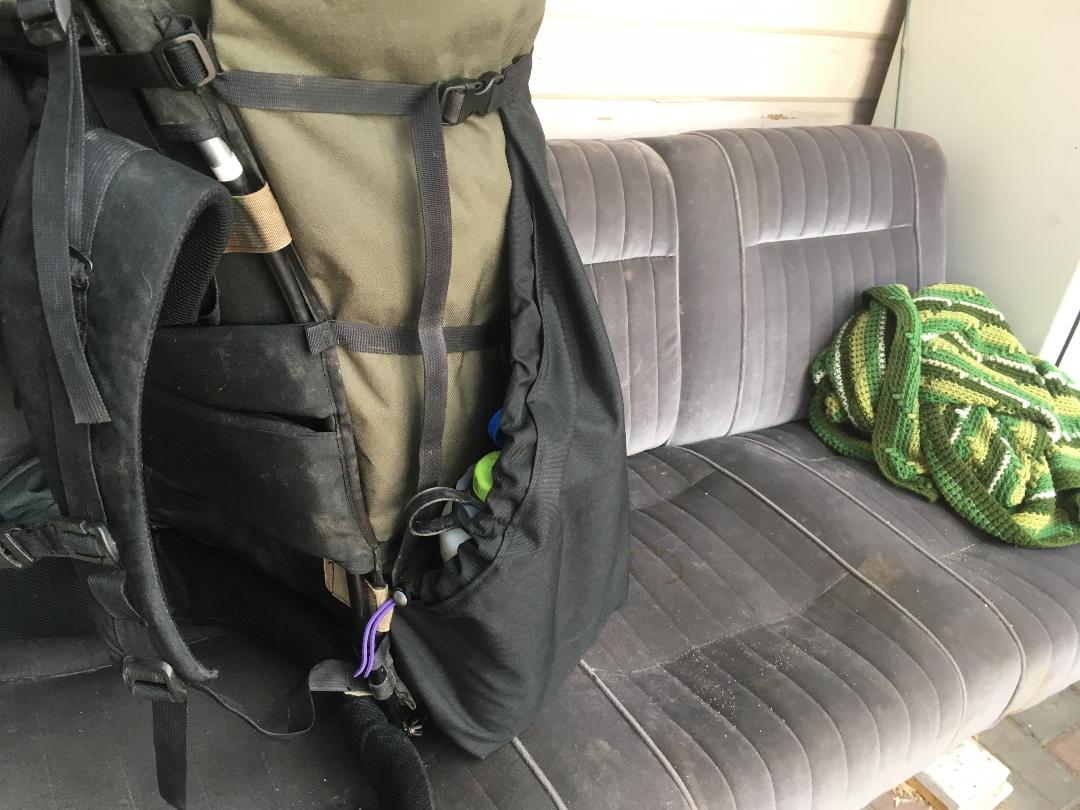
Side pockets are 500D Cordura, and 20 inches tall on the front face.  They attach to the uppermost compression strap, and are fully dimensioned with square bases, 5 inches deep on the front edge, 4 inches on the user edge.  I don’t own a big eye, but as seen below they swallow two 48oz nalgenes with room for at least another, when the main bag is crammed full.

Harperpack1

Harperpack3

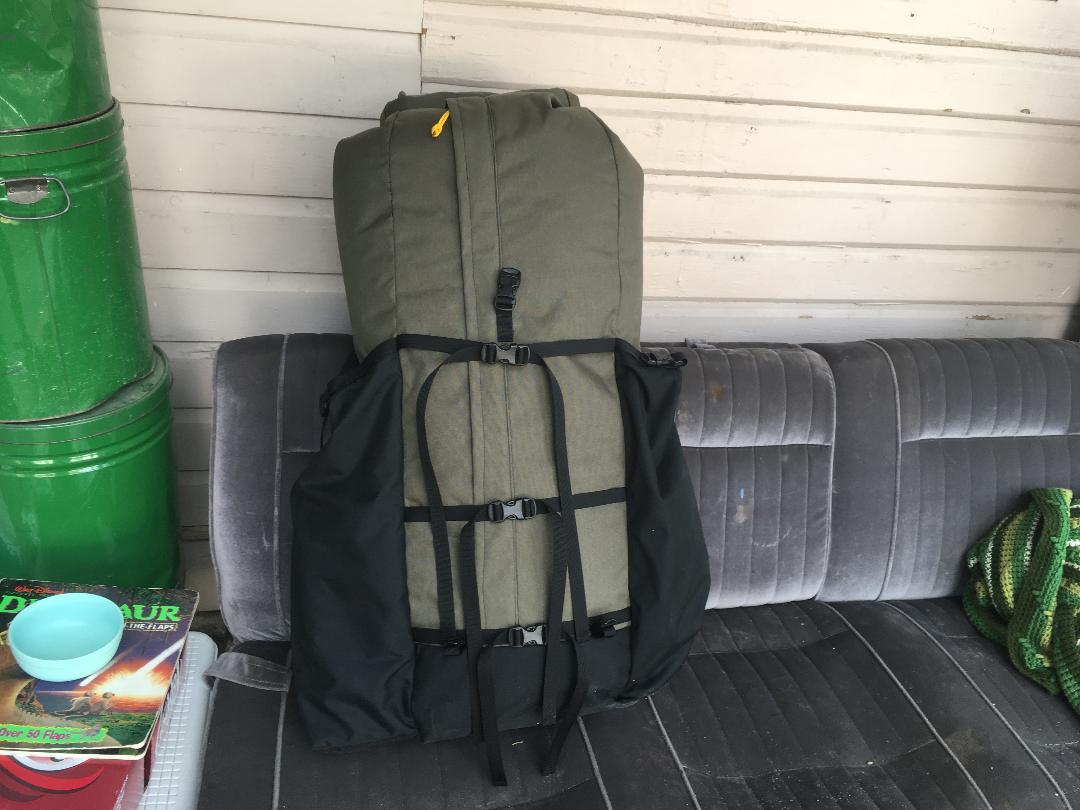
Bag dimensions are almost identical to the packs in the bison post; 42 inch lower circumference (8 inch depth), 50 inch upper circumference (12-13 inch depth), and a 40-42 inch unrolled height against the user.  This large amount of upward taper makes the ~90 liter at full height bag more like 55 liters when rolled all the way to the top of the frame.  This makes a smaller load less floppy, and enhances carry in meat shelf mode, as the lower part of the bag can’t get cantilevered that far out from your back.  The customer asked, in response to my commenting that this was a moderately large bag, what one could do to make a pack even bigger.  A lower circumference approaching 50 inches would add a huge amount of volume, and you could certainly make the bag taller, which I’ve never tried.  Presumably even with stiff xpac fabric and a roll top, at some point you reach a literal tipping point where stability goes downhill.  With Seek frames you can stack extensions, and a custom job on a 30 inch frame could probably get close to 50 inches without issue, in the process truly getting into bivy bag territory.

Harperpack2

Truly custom pack building is the most satisfying type, as well as the most nerve wracking.  Perhaps with enough experience I’ll cease to worry so much about meeting expectations with brand new designs, though at that point the fun level might decline in tandem.  For the moment it’s hard to resist adding a personal anxiety tax each time I agree to such a project.

And hey, it’s September.  Time to go sheep hunting (in only a few days).  Almost sad I won’t be getting this bag dirty myself.

Advertisement

10 responses to “My ultimate hunting pack”

  1. Killer work, and I hadn’t seen that X50 variant. Looks like good stuff.

  2. Nice. That X50 looks perfect. Might have to actually make another pack one of these days. The OG X50 has definitely impressed over few years and that new one looks like it pretty much takes care of the few issues with the old stuff.

  3. Some disconnected thoughts. First off, thanks for mentioning the X50 tactical, which seems to me a great option in therms of pack fabric. Secondly, while I might like to buy such pack from you, I would prefer buying whatever drawings/plans of said pack — assuming the post office does find my new sewing machine (they lost it!) I would like to start making my own gear rather than just buying it. Final random though is obviously about the frame for the big expedition North Fork pack. All things come to those who wait (until some time next year I assume), but if you ever feel like dropping some previews we are not going to complain.

    1. Patterns/tutorials in a PDF is certainly something I’ll think about.

      1. So I’d be curious about those pdf patterns as well. And also your musings on the larger bottom – would you just take the 8″ depth to 12″ or also make it wider at the base? I think I am committing to make a “dad pack mule pack” as my SO Lanner just isn’t big enough, but it carries awesome. My general plan was to borrow a friends Broadwing to make some measurements and expand the bottom a bit but make it integrated at 26″ or 28″ frame height (although that seems to make it more complicated for someone not too experienced at sewing!). Probably give up the xpac as well assuming it is less forgiving for the beginning sewer than the cheaper 500d cordura or 420d robic… would love to hear any thoughts/advice you have!

        1. Mike, PU coated fabrics are more foregiving than laminates in that when you have to rip out a bit of wrong seam you won’t have to go back and seam seal a series of micro holes. Ripstops 420D robic is good, but 500D Cordura is better and with the cost being equivalent I’d go for the later every time.

          I wouldn’t make a SO pack wider than 15 inches at the base, if it hangs beyond the frame that would get weird in a couple ways. General rule: if you anticipate a pack being full most of the time make the base and top circs pretty similar to maximize space. If you think it might be partially full often a 4-6 inch difference between the two helps a partial load not bowling ball down to the bottom. You could go up to 8 inches if the pack is big (80 liters or more). A radical taper in a smaller pack makes packing a bit odd due to the angles.

  4. […] For bike rafting you don’t want a shaft tap to the back of the helmet when rolling steep slickrock, which highlights the desirability of packing the shaft along the side.  This video details the most delicate and complex load I can recall, between the raft gear, ski gear, and wood stove, but the way I packed the paddle was the same as always.  First, the bulk of the gear goes in as usual, with more maleable stuff at the bottom.  Then, the blades go in tip down along the front, with shaft pieces go in along one side right against the front corner.  This last is significant, as it both gives you a bit more height to work with (provided your pack has tapered lower corners, as it should) and moves the hard edge of the end away from the likely abrasion point.  Even so, it’s not a bad idea to have a bit of extra protection along the base of the front (as shown in last weeks pack). […]

  5. Thanks for your input. If x-pac isn’t harder to actually sew at home I may consider trying it to keep the waterproofness even if I have to seem seal over extra holes. I thought I had seen a post where you said the laminates are more sensitive to matching proper thread size and stitch length to the material VX07, V15, VX21 (doubt I would need VX42 for the body). Being a beginner just getting a straight even stitch on my ray-way backpack kit and thread was hard enough to keep tension correct. Figuring out proper thread and stitch length for sensitive materials is beyond my level, so that was my concern.
    Thanks for sizing advice. Pack mule is basically always full, but in future years the kids start carrying their own sleep system and clothes it wouldn’t really be needed anymore; so it is a pack of maybe 3-4 summers use….

    1. In some ways Xpac is easier to sew and handle. It is stiff, and doesn’t stretch at all. The X variations are a bit slick when using lighter duty machines, the VX variants would be my recommendations to a newb.

      It is possible to weaken a seam line on something light like VX07 with big needle holes and close stitch spacing. Unless you are using an industrial machine you won’t have this issue.

  6. I was disappointed to hear today from Rockywoods’ customer service that they are no longer carrying X50 in plain colors due to a 25% increase in fabric price from the manufacturer. They will only offer full-roll quantities now.

Leave a Reply

Please log in using one of these methods to post your comment:

WordPress.com Logo

You are commenting using your WordPress.com account. Log Out /  Change )

Facebook photo

You are commenting using your Facebook account. Log Out /  Change )

Connecting to %s