It occurs to me that since I started doing this four years ago, most of my packs have been the same. After all, most everyone needs a solid big pack. Each iteration represents more learning on how to best meet the same demands.


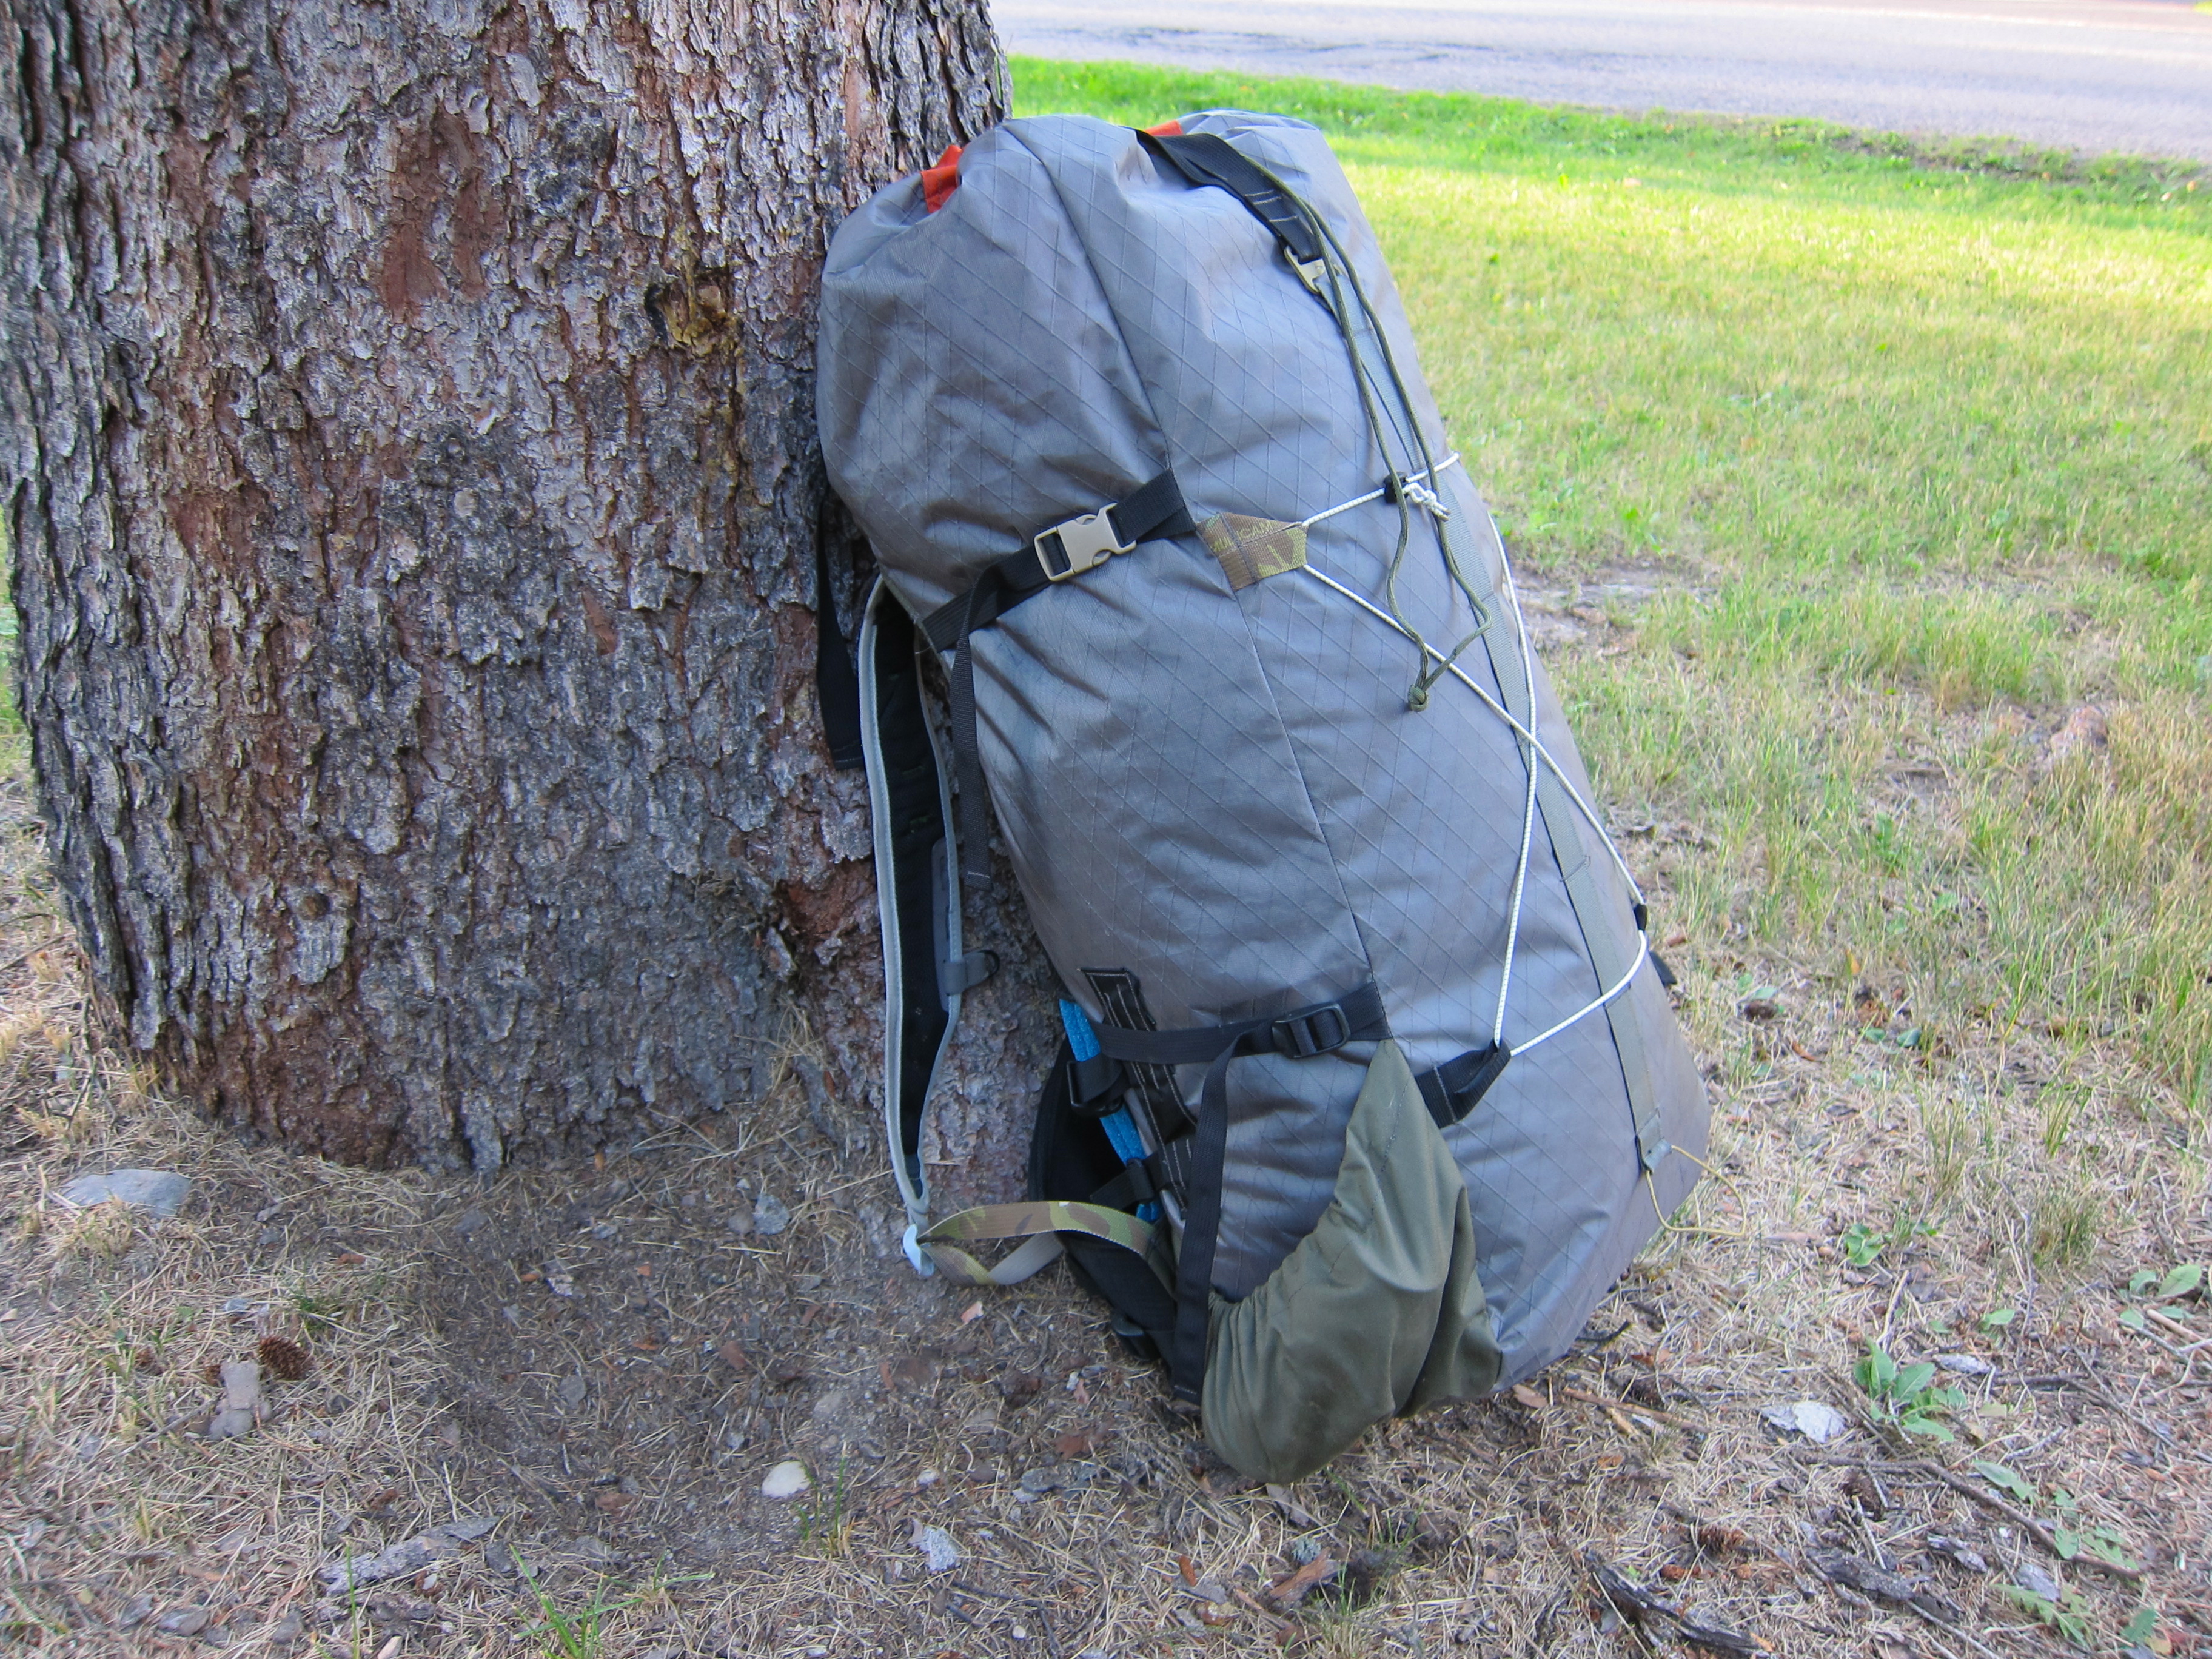
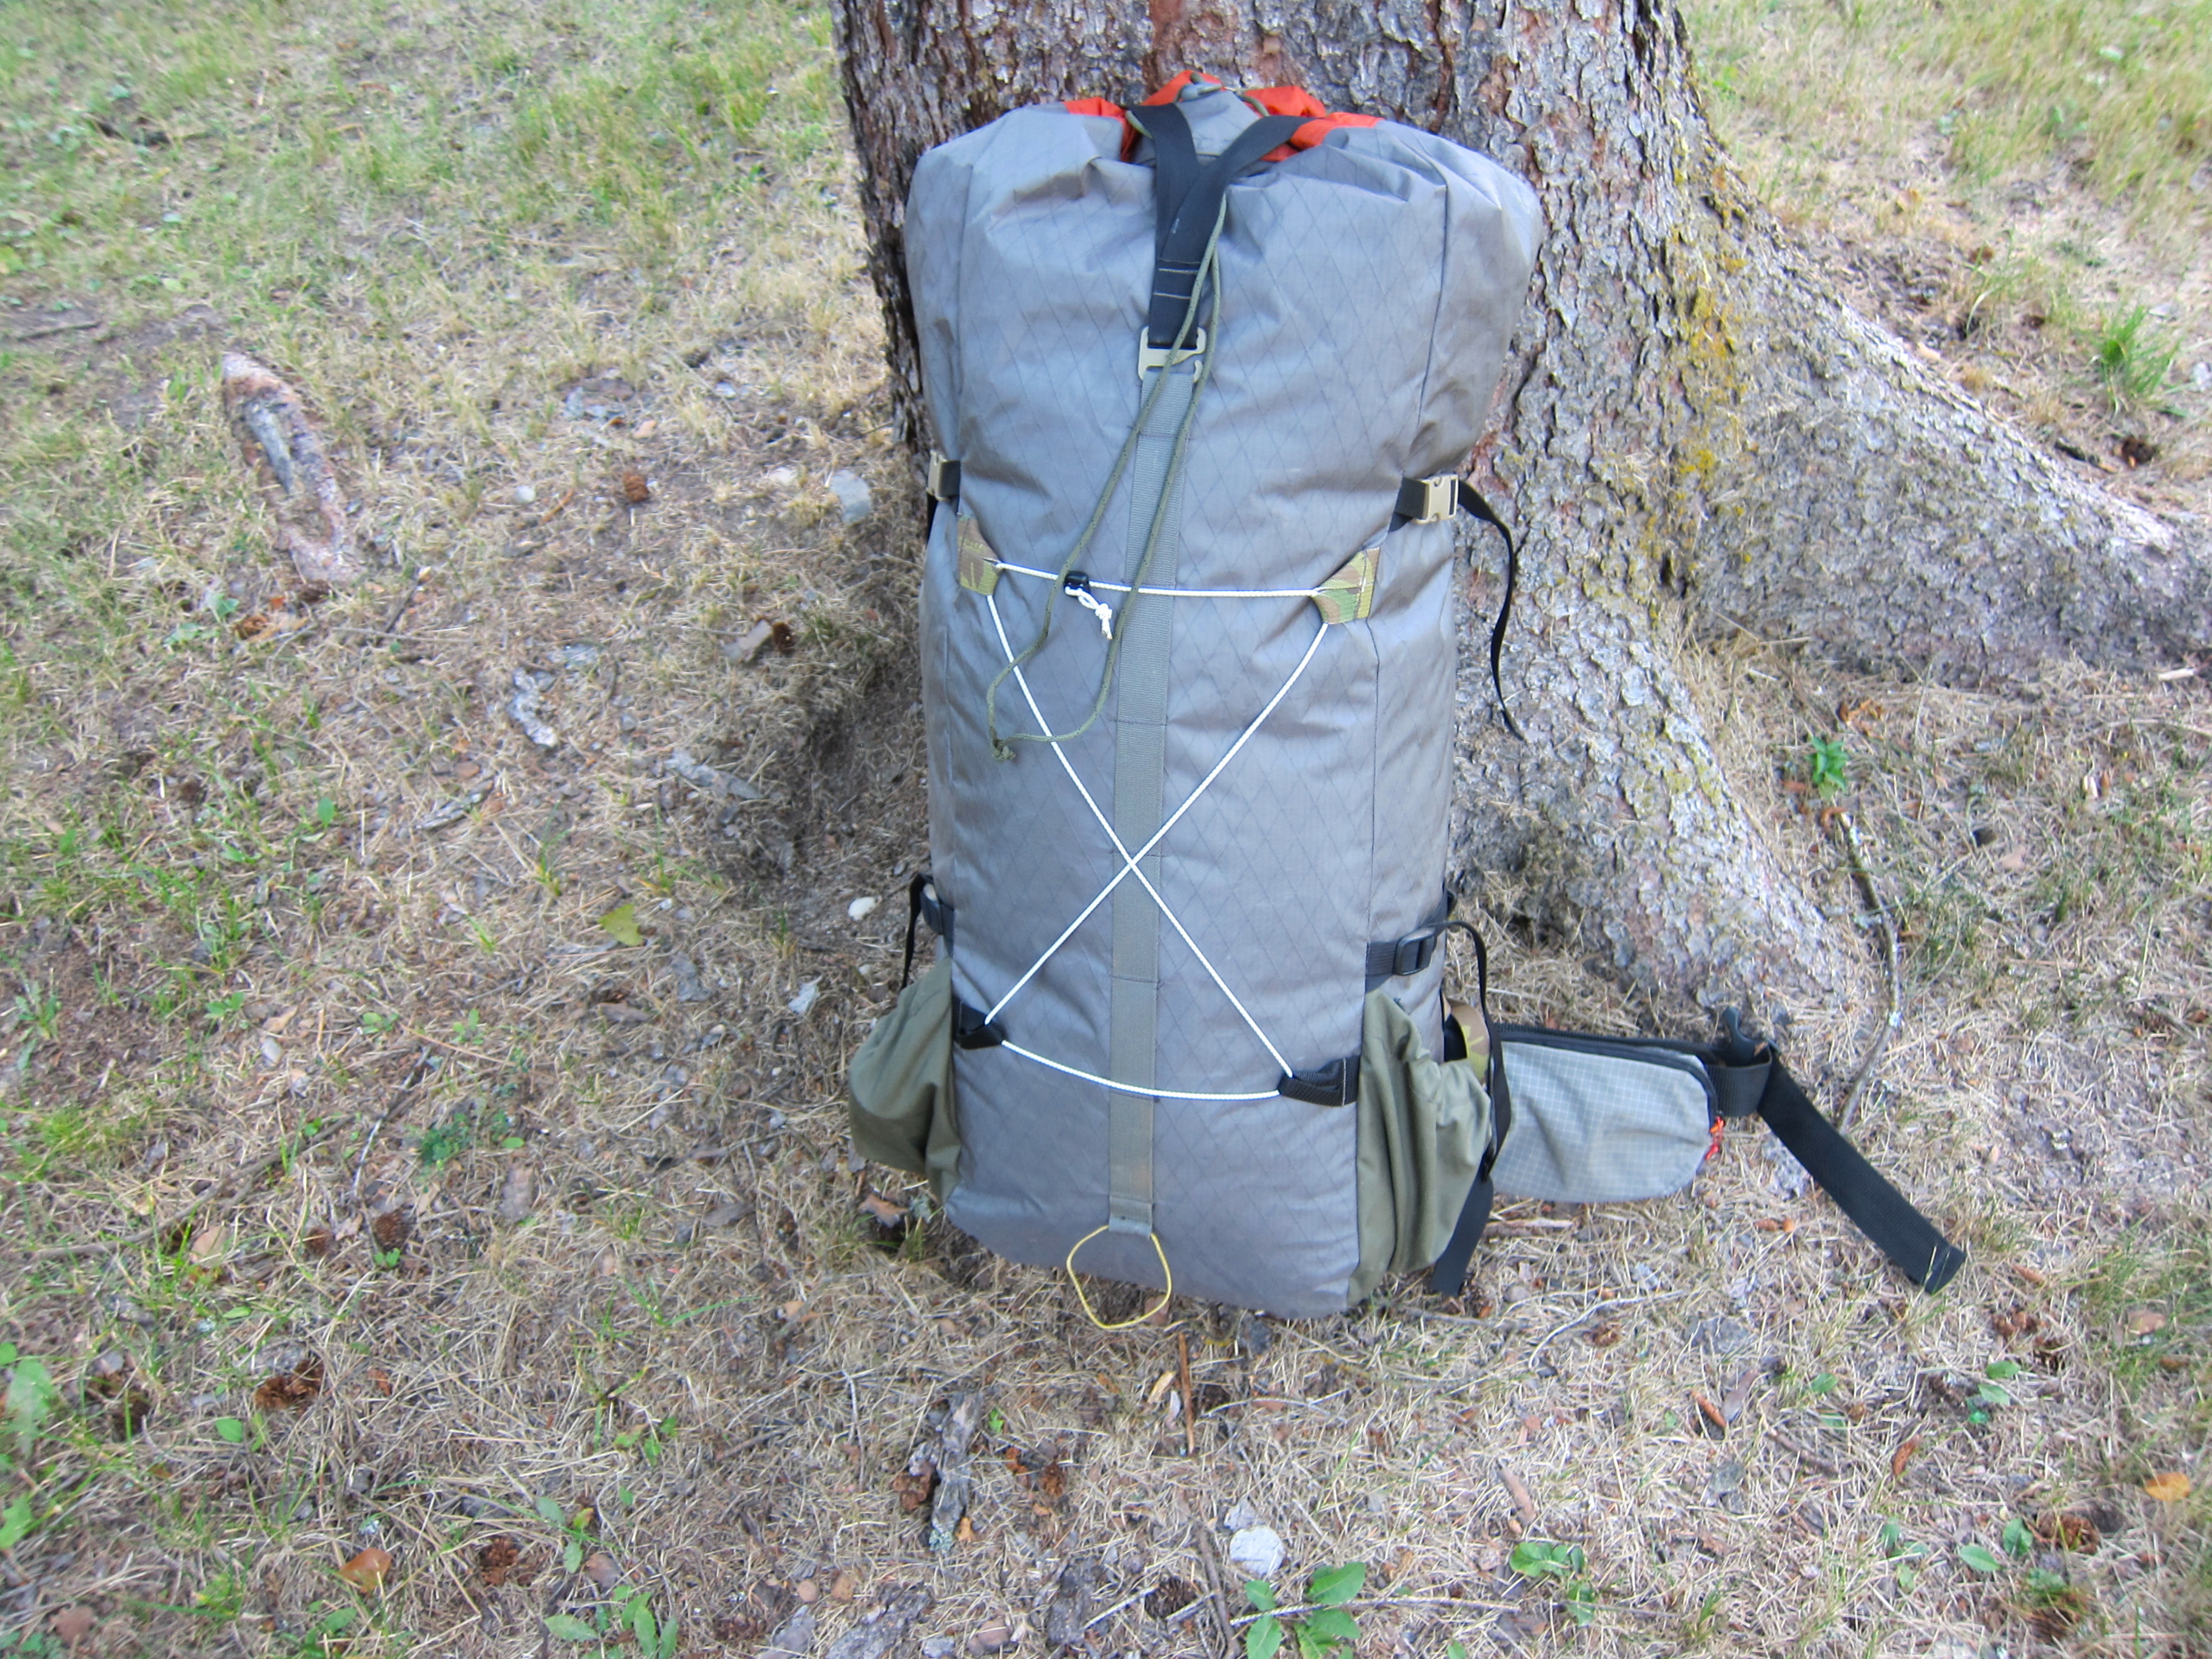


The pack bag weighs 25 ounces as shown above, the modified Gossamer Gear belt 7 ounces, the 1″ by 1/8″ by 22″ stays 4 ounces each, and the 22″ by 24″ pad 3 ounces. 43 ounces total. The main bag is 34 inches tall (30 inches when cinched), the pack panel is 12 inches wide, the front panel 10 inches wide, and the side panels 8 inches deep. All the grey fabric is VX-21, the black strip on the bottom is VX-42, and the back panel and side pockets are 500D cordura.
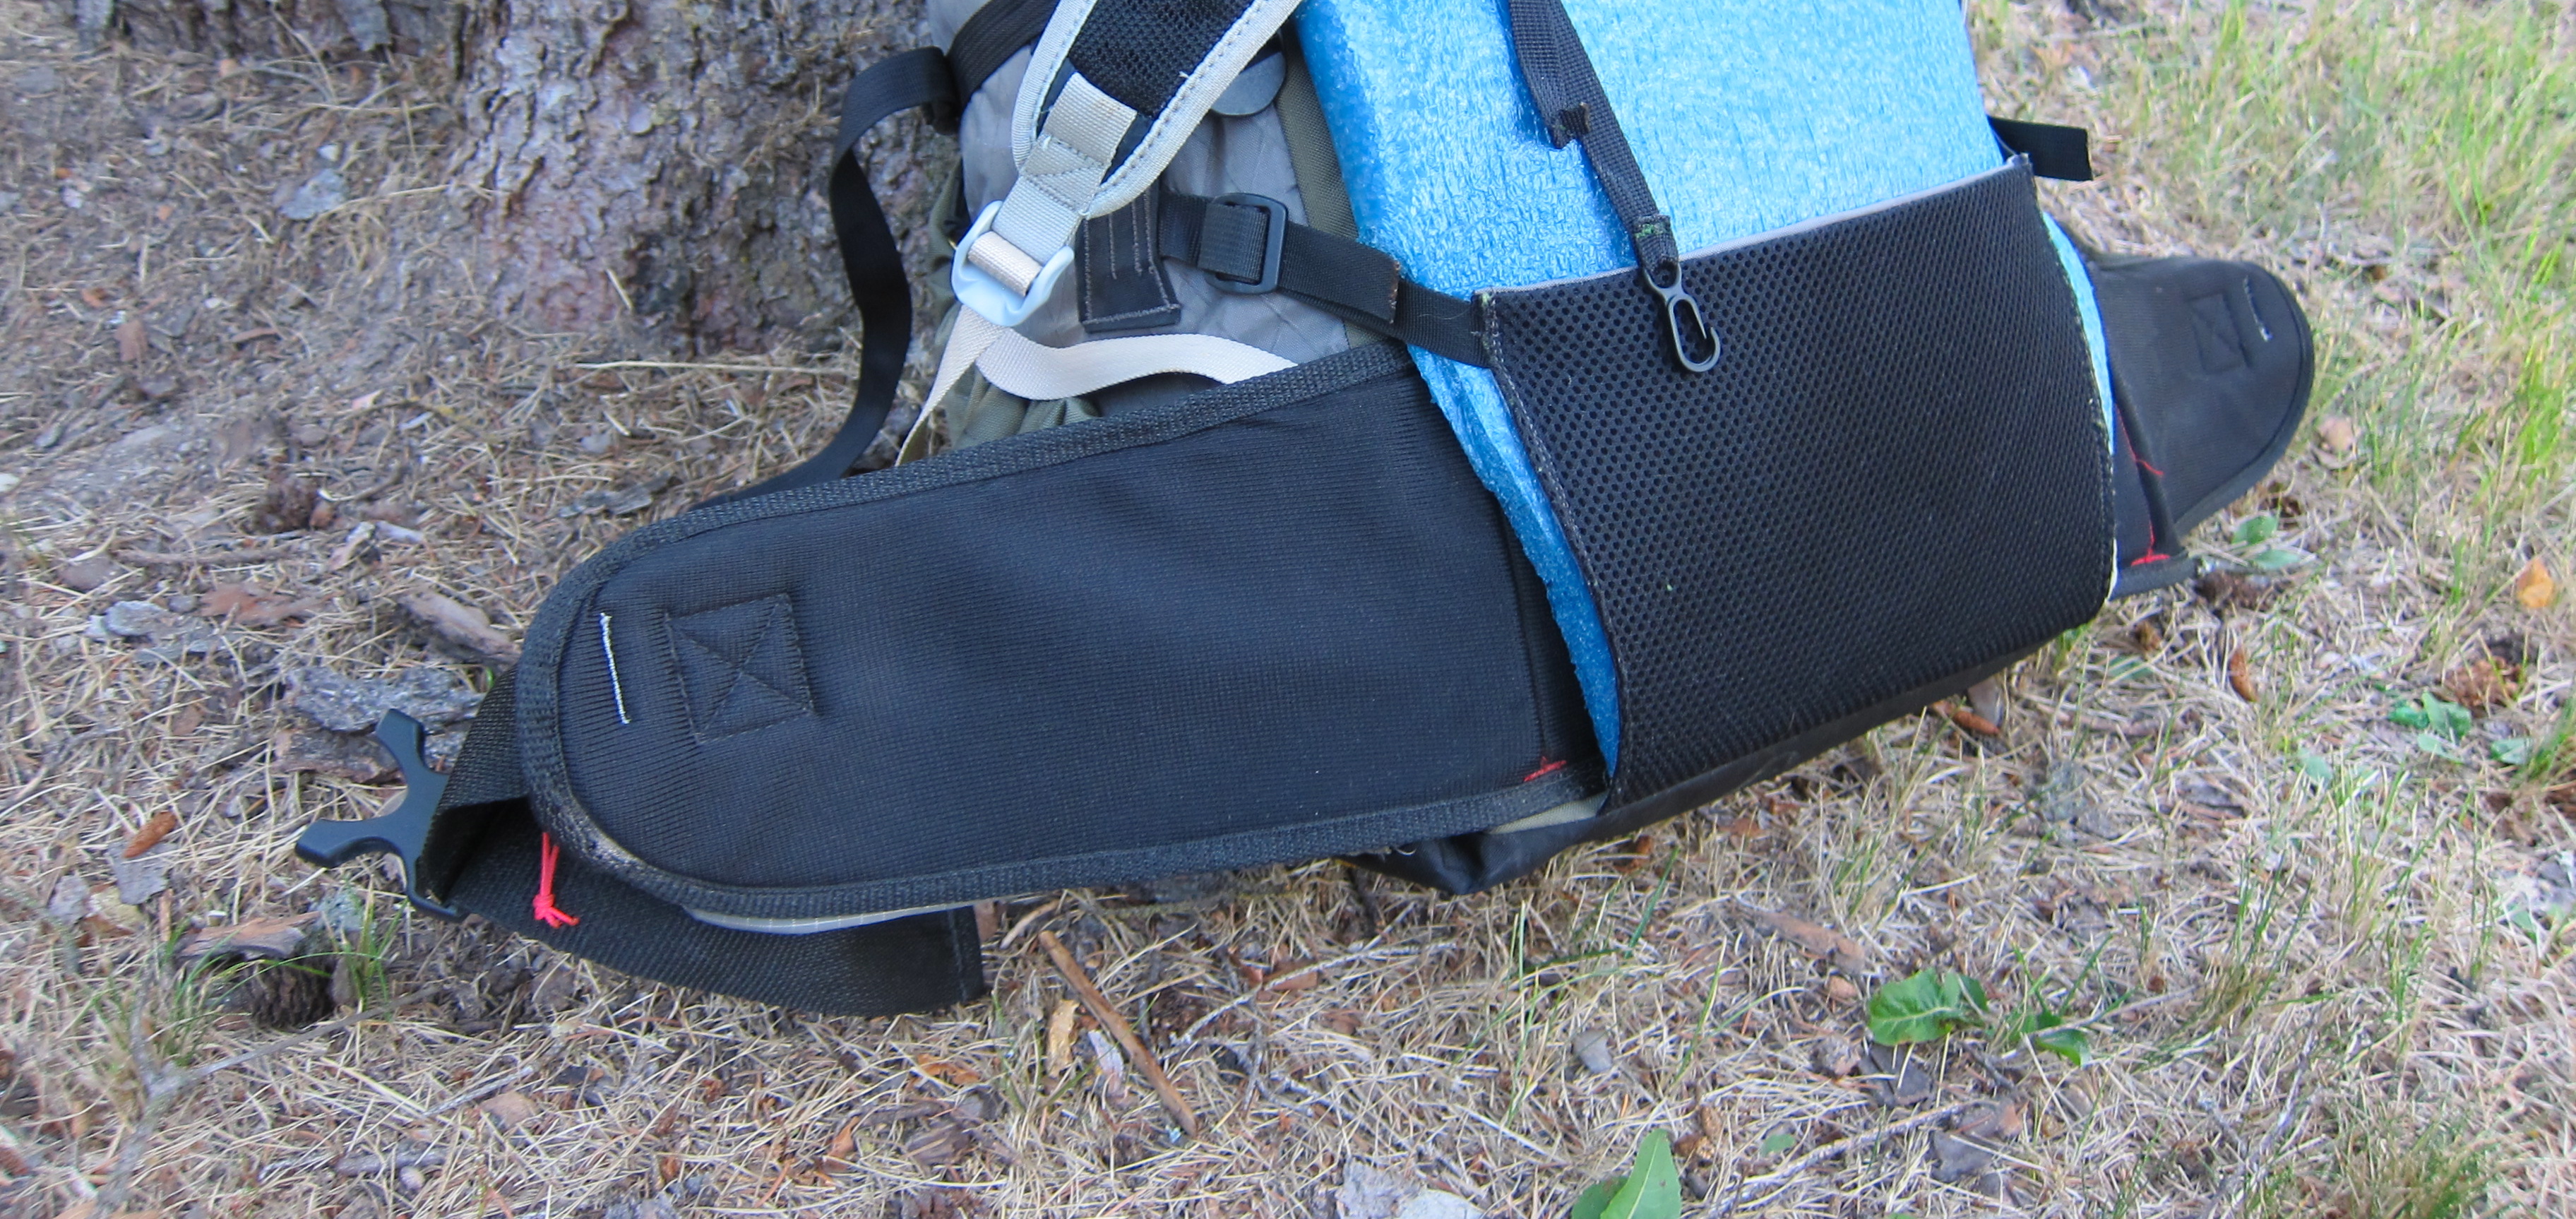
While there will always be a place for a frameless pack, it’s pretty easy to get a ~55 liter pack heavy enough to make stays a good idea. The above system is the cleanest and most effective of which I’m aware. The stays insert into channel (2″ webbing) which runs right up to the shoulder straps. The pockets on the hipbelt hold the stays in place, and the flap buckles over the belt and foam pad making it all stick together. Added bonus, this system is pretty simple to design and sew.
Over the past 8 months I’ve played with a number of designs for packs which would carry big loads, including two complete prototypes which ended up as scrap. The first one featured thinner stays, which started to unbend with loads over 60 pounds. The first one had 30 inch, 1″ by 1/4″ 7075 stays, and made for a pack which felt like a back brace. My conclusion is that loads under 40-50 pounds can be well served with a pack like the one shown here, and that bigger loads need something else which builds a bit of a buffer between the user and a very rigid frame.
As far as features, I’ve decided that some sort of sweat mitigation fabric is worthwhile, hence the 3D mesh, which is expensive and a pain to sew. I’ve been quite taken with the sit pad on the Gorilla for breaks and it’s general multi-functionism, so that was added. Side pockets are handy, so long as they can disappear and don’t snag on brush. I don’t often strap something to the back, but when I do I want to do be able to do so with authority, and thus the tabs laced with shock cord are double bartacked. I find a lot of adjustability in the top cinch straps essential, and the ability to attach the g-hook lower on the daisy chain facilitates this without too much webbing flapping in the breeze. My affinity for Osprey shoulder straps has stayed the same, and for all its simplicity the GG belt is impressively effective.
VX-21 might be the best all-around pack fabric available, insofar as it balances durability, weight, cost, UV-resistance, and sewability (read: simple seams don’t tear the fabric under load). Ideally I would have had twice as much VX-42 for the bottom, but protecting the corners from paddle shaft wear is first priority. I used 500D cordura for the back panel because it has better stitch retention (the per/yard weight is about the same as VX-21, but the majority of that content is woven nylon). I would have made the top of that panel from VX-21, but I didn’t have enough left over.
Questions? Ask ’em.

Leave a comment