 Photos by M.
Two years ago I made a simple ~27 liter pack, meant for all manner of day trips and light 2-4 day stuff in fair weather. I was never content with the simple, short drawcord closure and the torso length was a bit too small, so eventually it suffered the fate of so many packs and was sacrificed for parts.
Last year I made a more complicated version with a similarly sized main compartment and flexible suspension system. It was a good pack, but that complication left me a bit cold, and using VX-07 turned out to be a poor choice. Skis and a bit of canyoneering left it hole-y come spring, so out came the scissors.
Soon thereafter, I ordered a half yard each of VX-42 and X-51 from Cascade Craftworks, and the third generation was born.
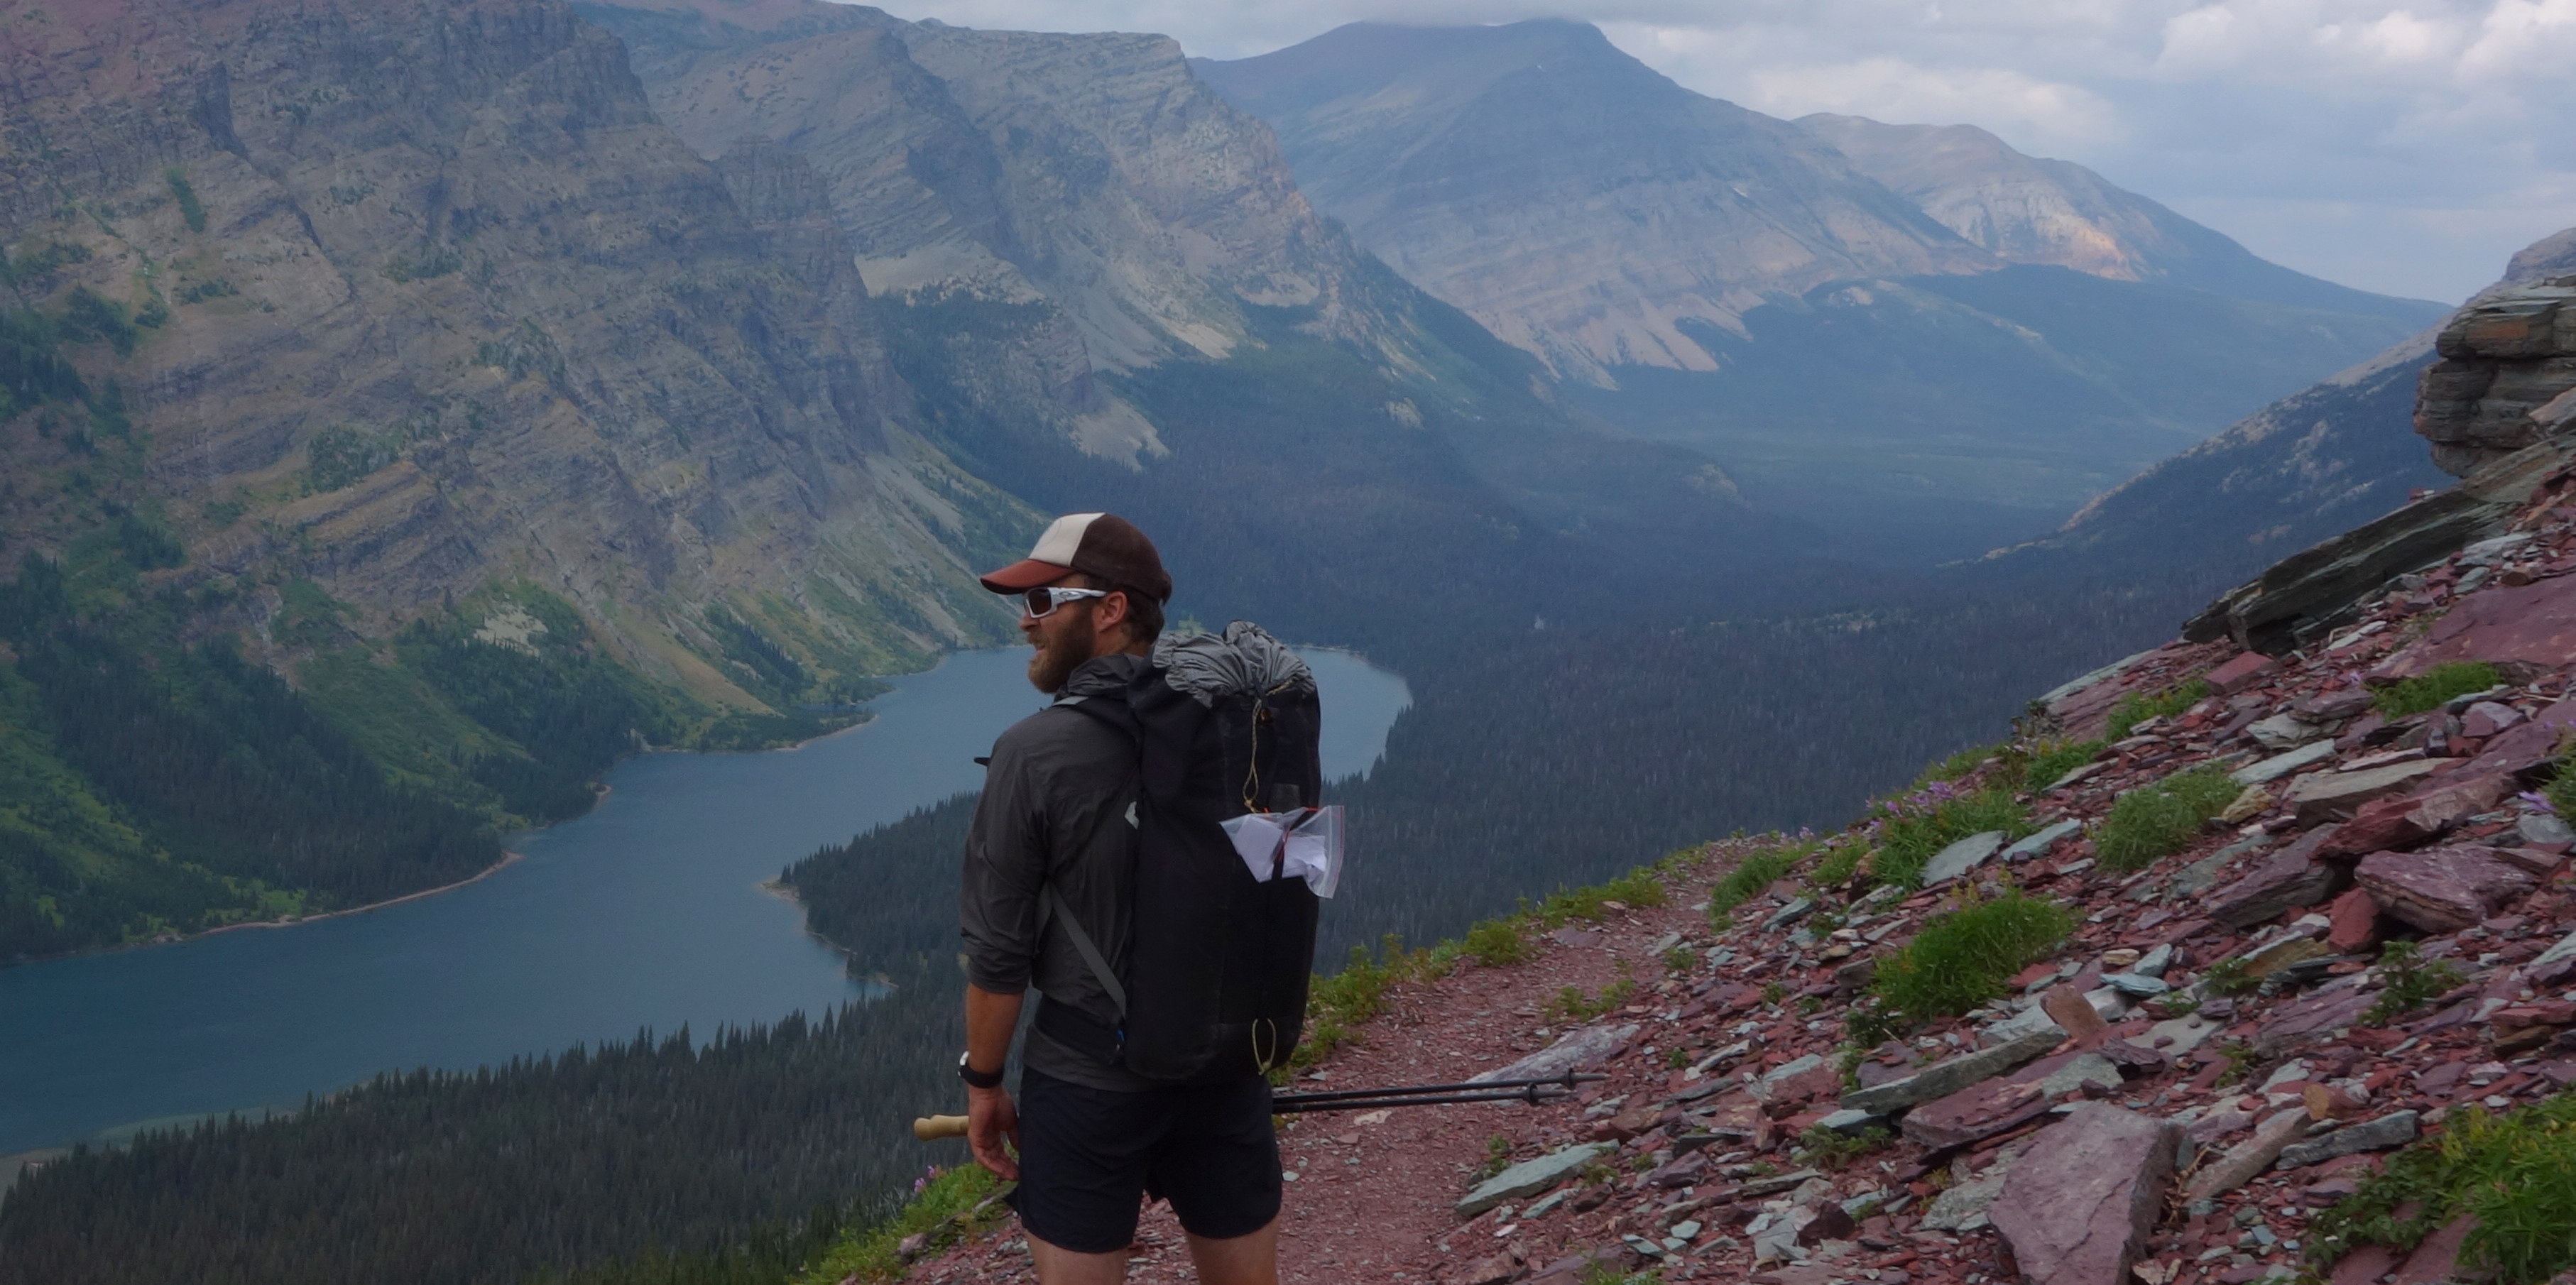
Design specs were to be as simple as possible while being able to carry skis and/or and ice axe regularly, and other stuff as needed, all while being as clean and aesthetically pleasing as possible. Comfortable carriage of up to 25 pounds for days on end, and more for shorter stretches, was necessary, as was the ability to carry fine with a low volume 7 pound day load.
This pack, along with the Unaweep, forms a quiver of two packs for just about all of my needs. In theory a ~50 liter lightly framed pack would be more versatile than either a 65 liter heavy hauler or a 30 liter frameless bag, but between the Unaweeps lightness and excellent light-load bearing, as well as the very small number of just-backpacking trips I do, I’ve found 50 liter packs go almost unused.
 Note the integrated, full width lumbar pad, in this case a bit of ridgerest. This is a feature I missed and brought back from version one.
I’ve also become a fan of wider shoulder straps, so the remains of the dearly departed Gossamer Gear Gorilla made the cut. The feature set is a full length #8 zip with two sliders on the right side, a 5/8″ daisy tacked on to the seam on each side, a 3/4″ daisy centered on the front panel, and an interior side zippered pocket (in tan ripstop, visible above).
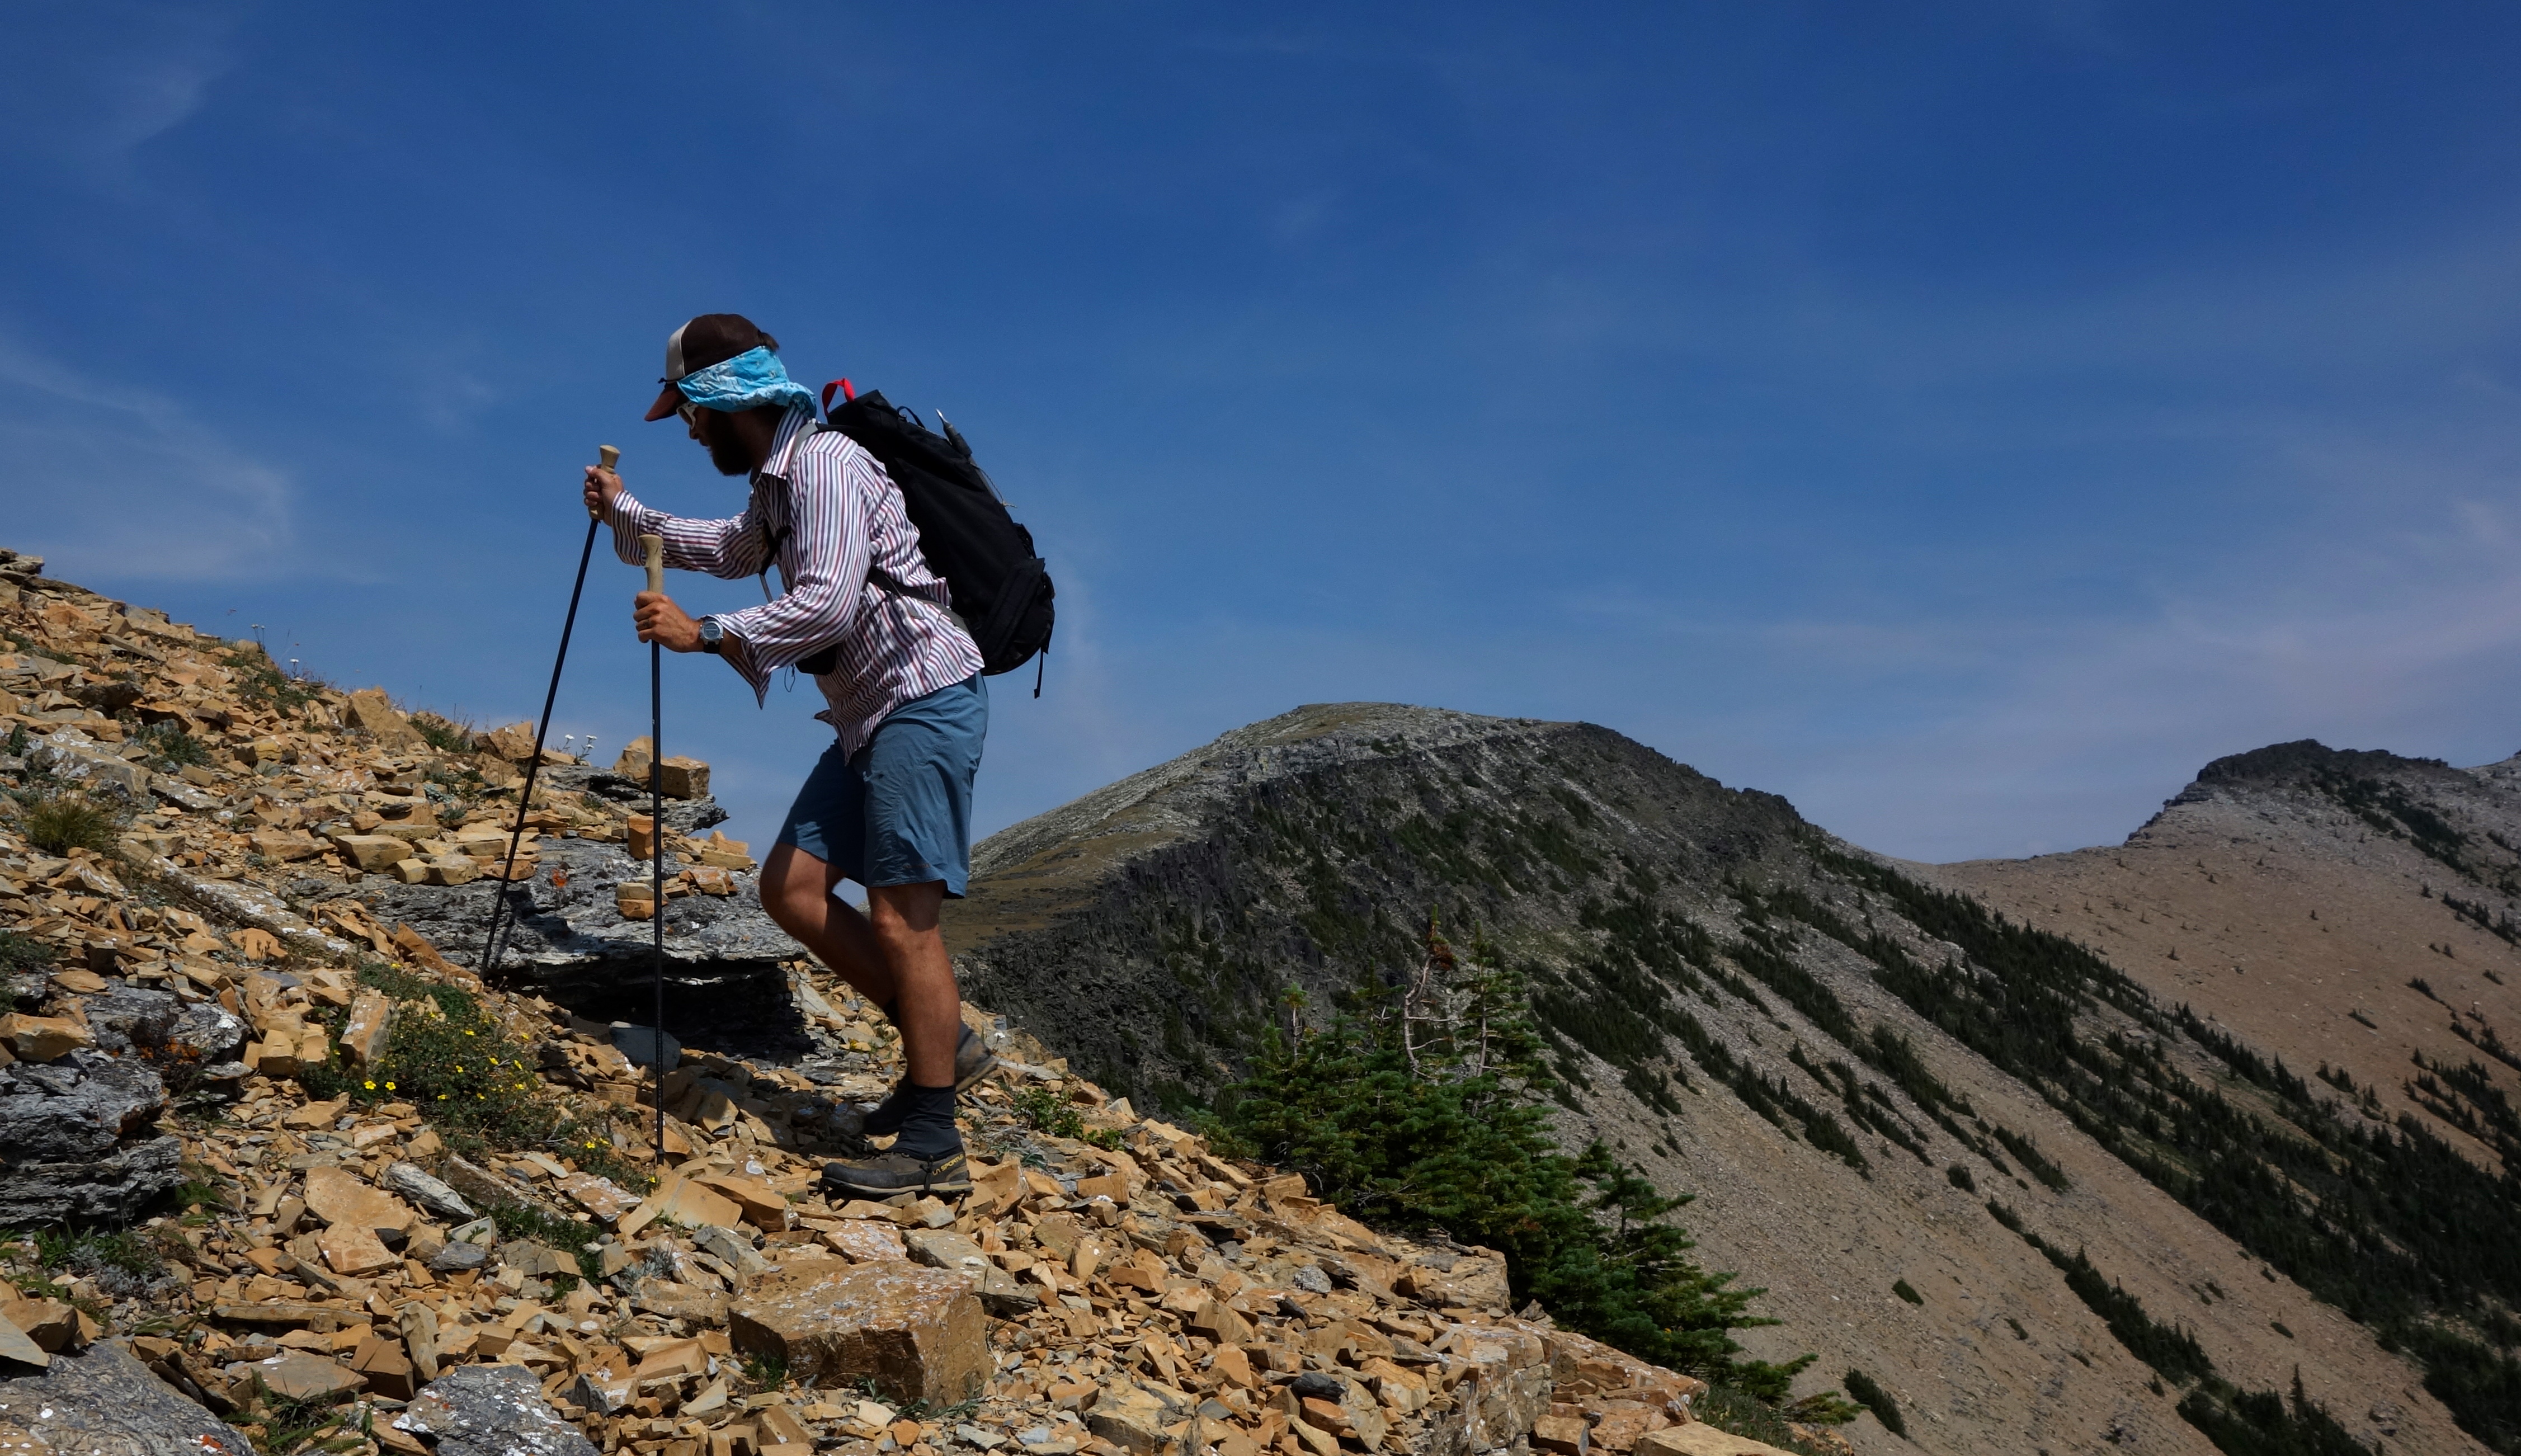
Three daisy chains allow just about anything to be attached to the pack. They work particularly well for diagonal ski carry, and strapping a PFD across the back. When not in use they blend in like they’re not there at all. Sewing them atop seams gives the bartacks multiple layers of fabric to bite into. For the center-back daisy I placed a folded piece of VX-42 under the fabric while I was working, and trimmed away the excess when finished.

The side zipper allows easier access to small things without unpacking the pack, including water bottles, but this doesn’t work as well once the pack is really crammed full. The zipper is really there for winter use, so I can set the pack down on it’s side and get out lunch without allowing the sweaty back panel to collect snow. It’s also great for packrafting; lash the pack horizontally on the bow with the zipper facing you and access to water, snacks, camera, and throw bag are all quick and simple.
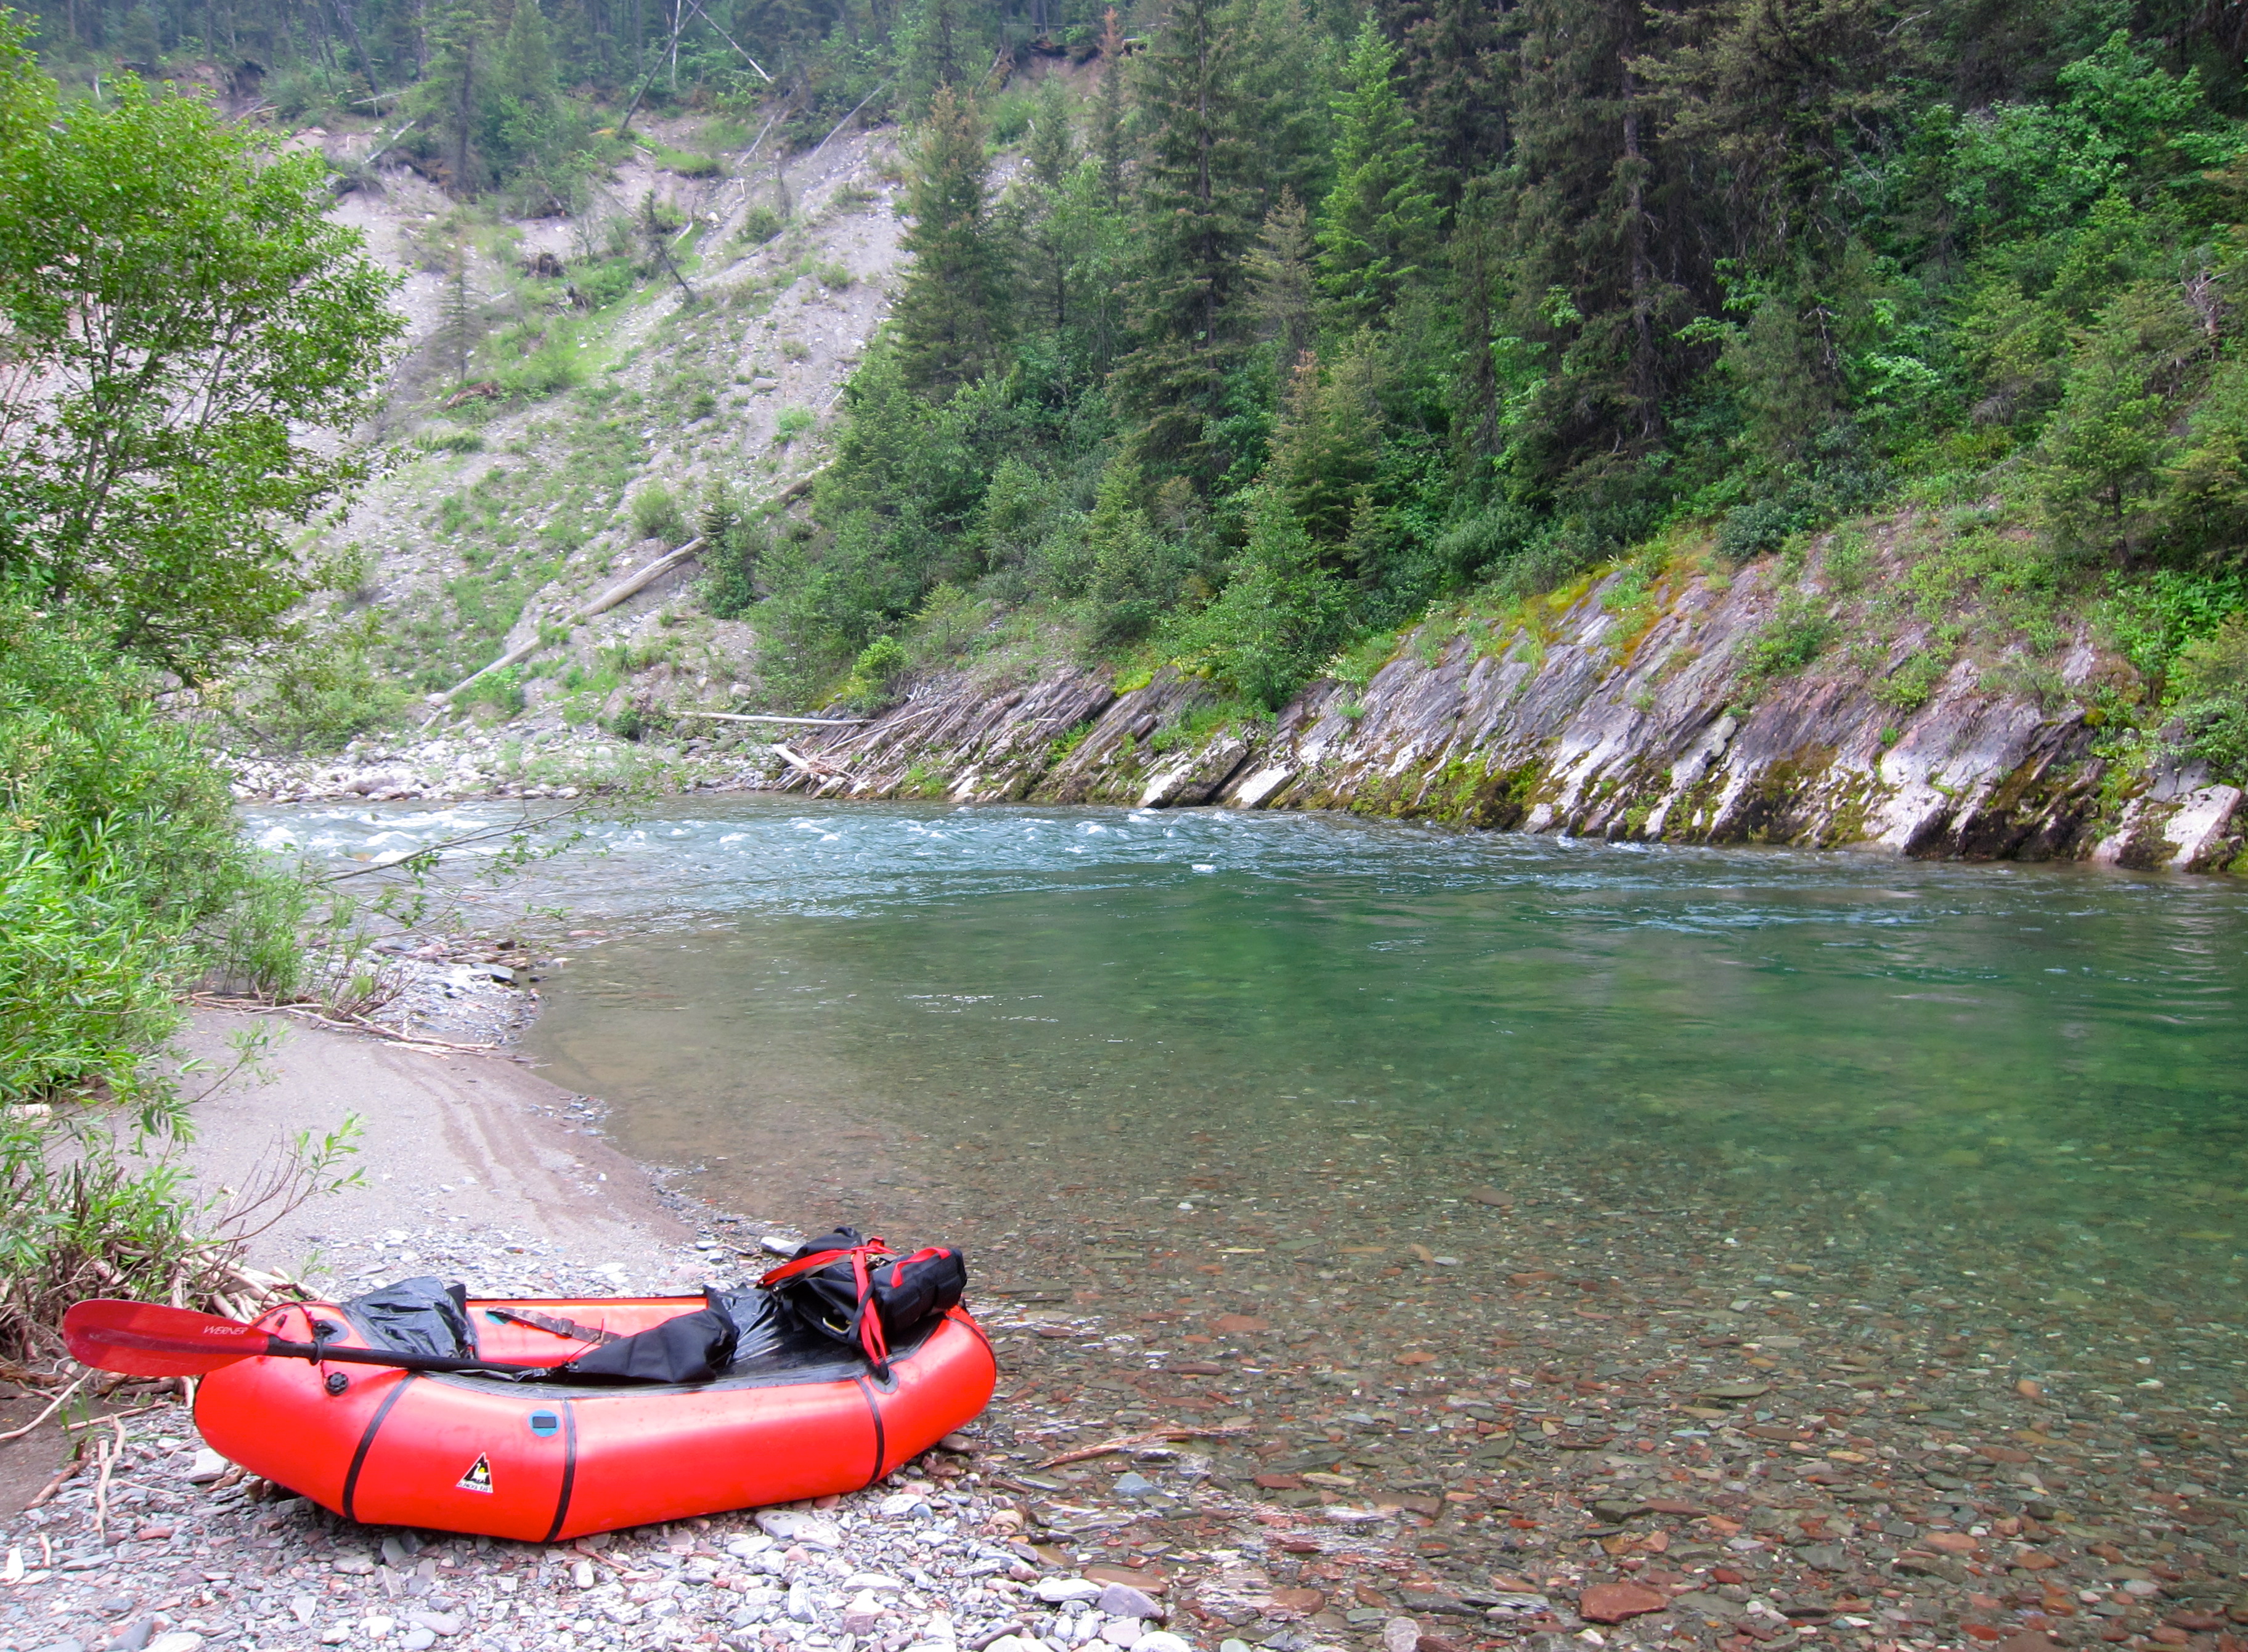
Daisy chains are, in my book, just about mandatory for rigging while rafting.
It’s taken all of the aforementioned experimentation to arrive at the proper torso length for a pack like this. On conventional packs I run a base of panel to straps measurement of 22 to 22.5 inches. This is too long for a pack like this, where a bit more shoulder wrap is desirable for light load manuverability. I built this pack with a bottom seam to midpoint of strap attachment right at 21 inches, which is dead on.
 The top strap is 3/4″ webbing with a Sea to Summit aluminum hook/buckle. This hooks to various points on the front daisy, providing a variable level of compression without requiring a very long strap.
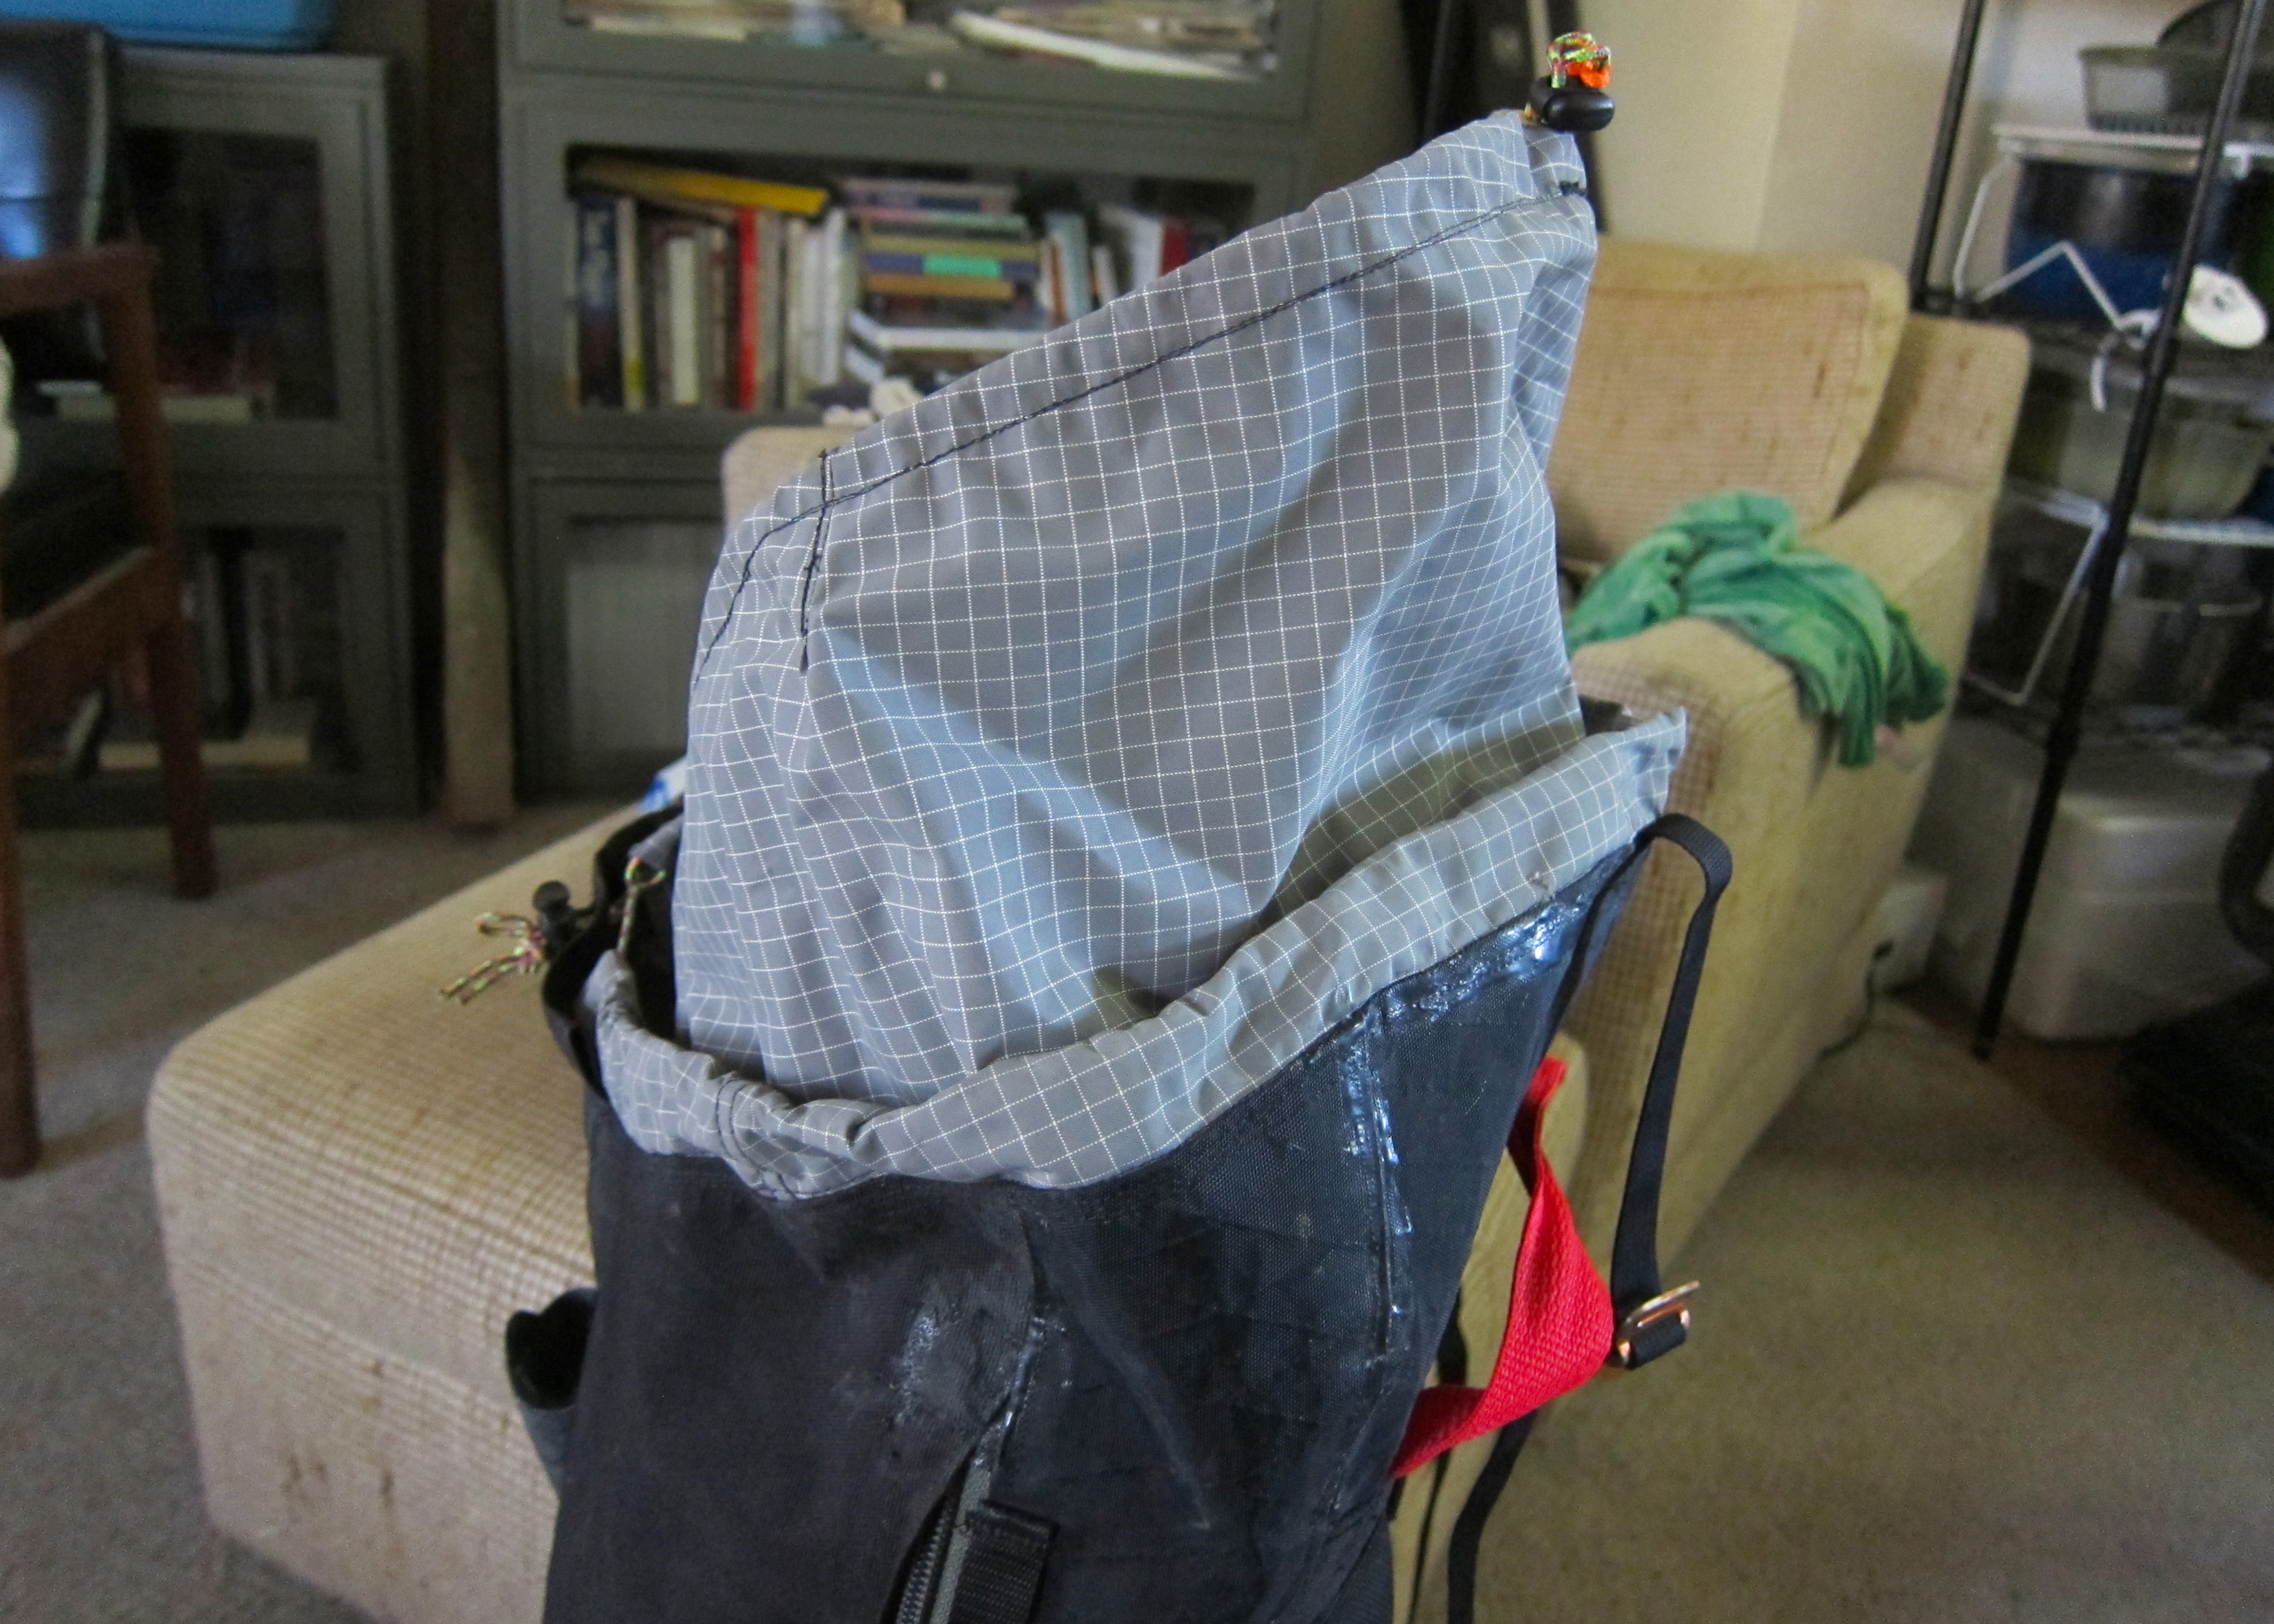
Closures on little packs are tough to get right. I’ve become a convert to rolltops on big packs because they’re clean, weatherproof, and provide some easy compression without extra stuff, but like a drawcord on small packs for the overload capacity they provide. The problem is how to be able to run paddles out the top as seen above, while still having a weathertight load when packed normally (first photo). The solution is the cut the main opening on an angle, and have a similarly angled, and gusseted secondary shroud which folds into the pack when not used but can be easily pulled up and cinched down. It took some fiddling, but this has been a satisfactory solution.
 Close-up of VX-42 (bottom) and X-51. Side seams are triple stitched, felled, then triple stitched again, with stress points bartacked on both occasions.
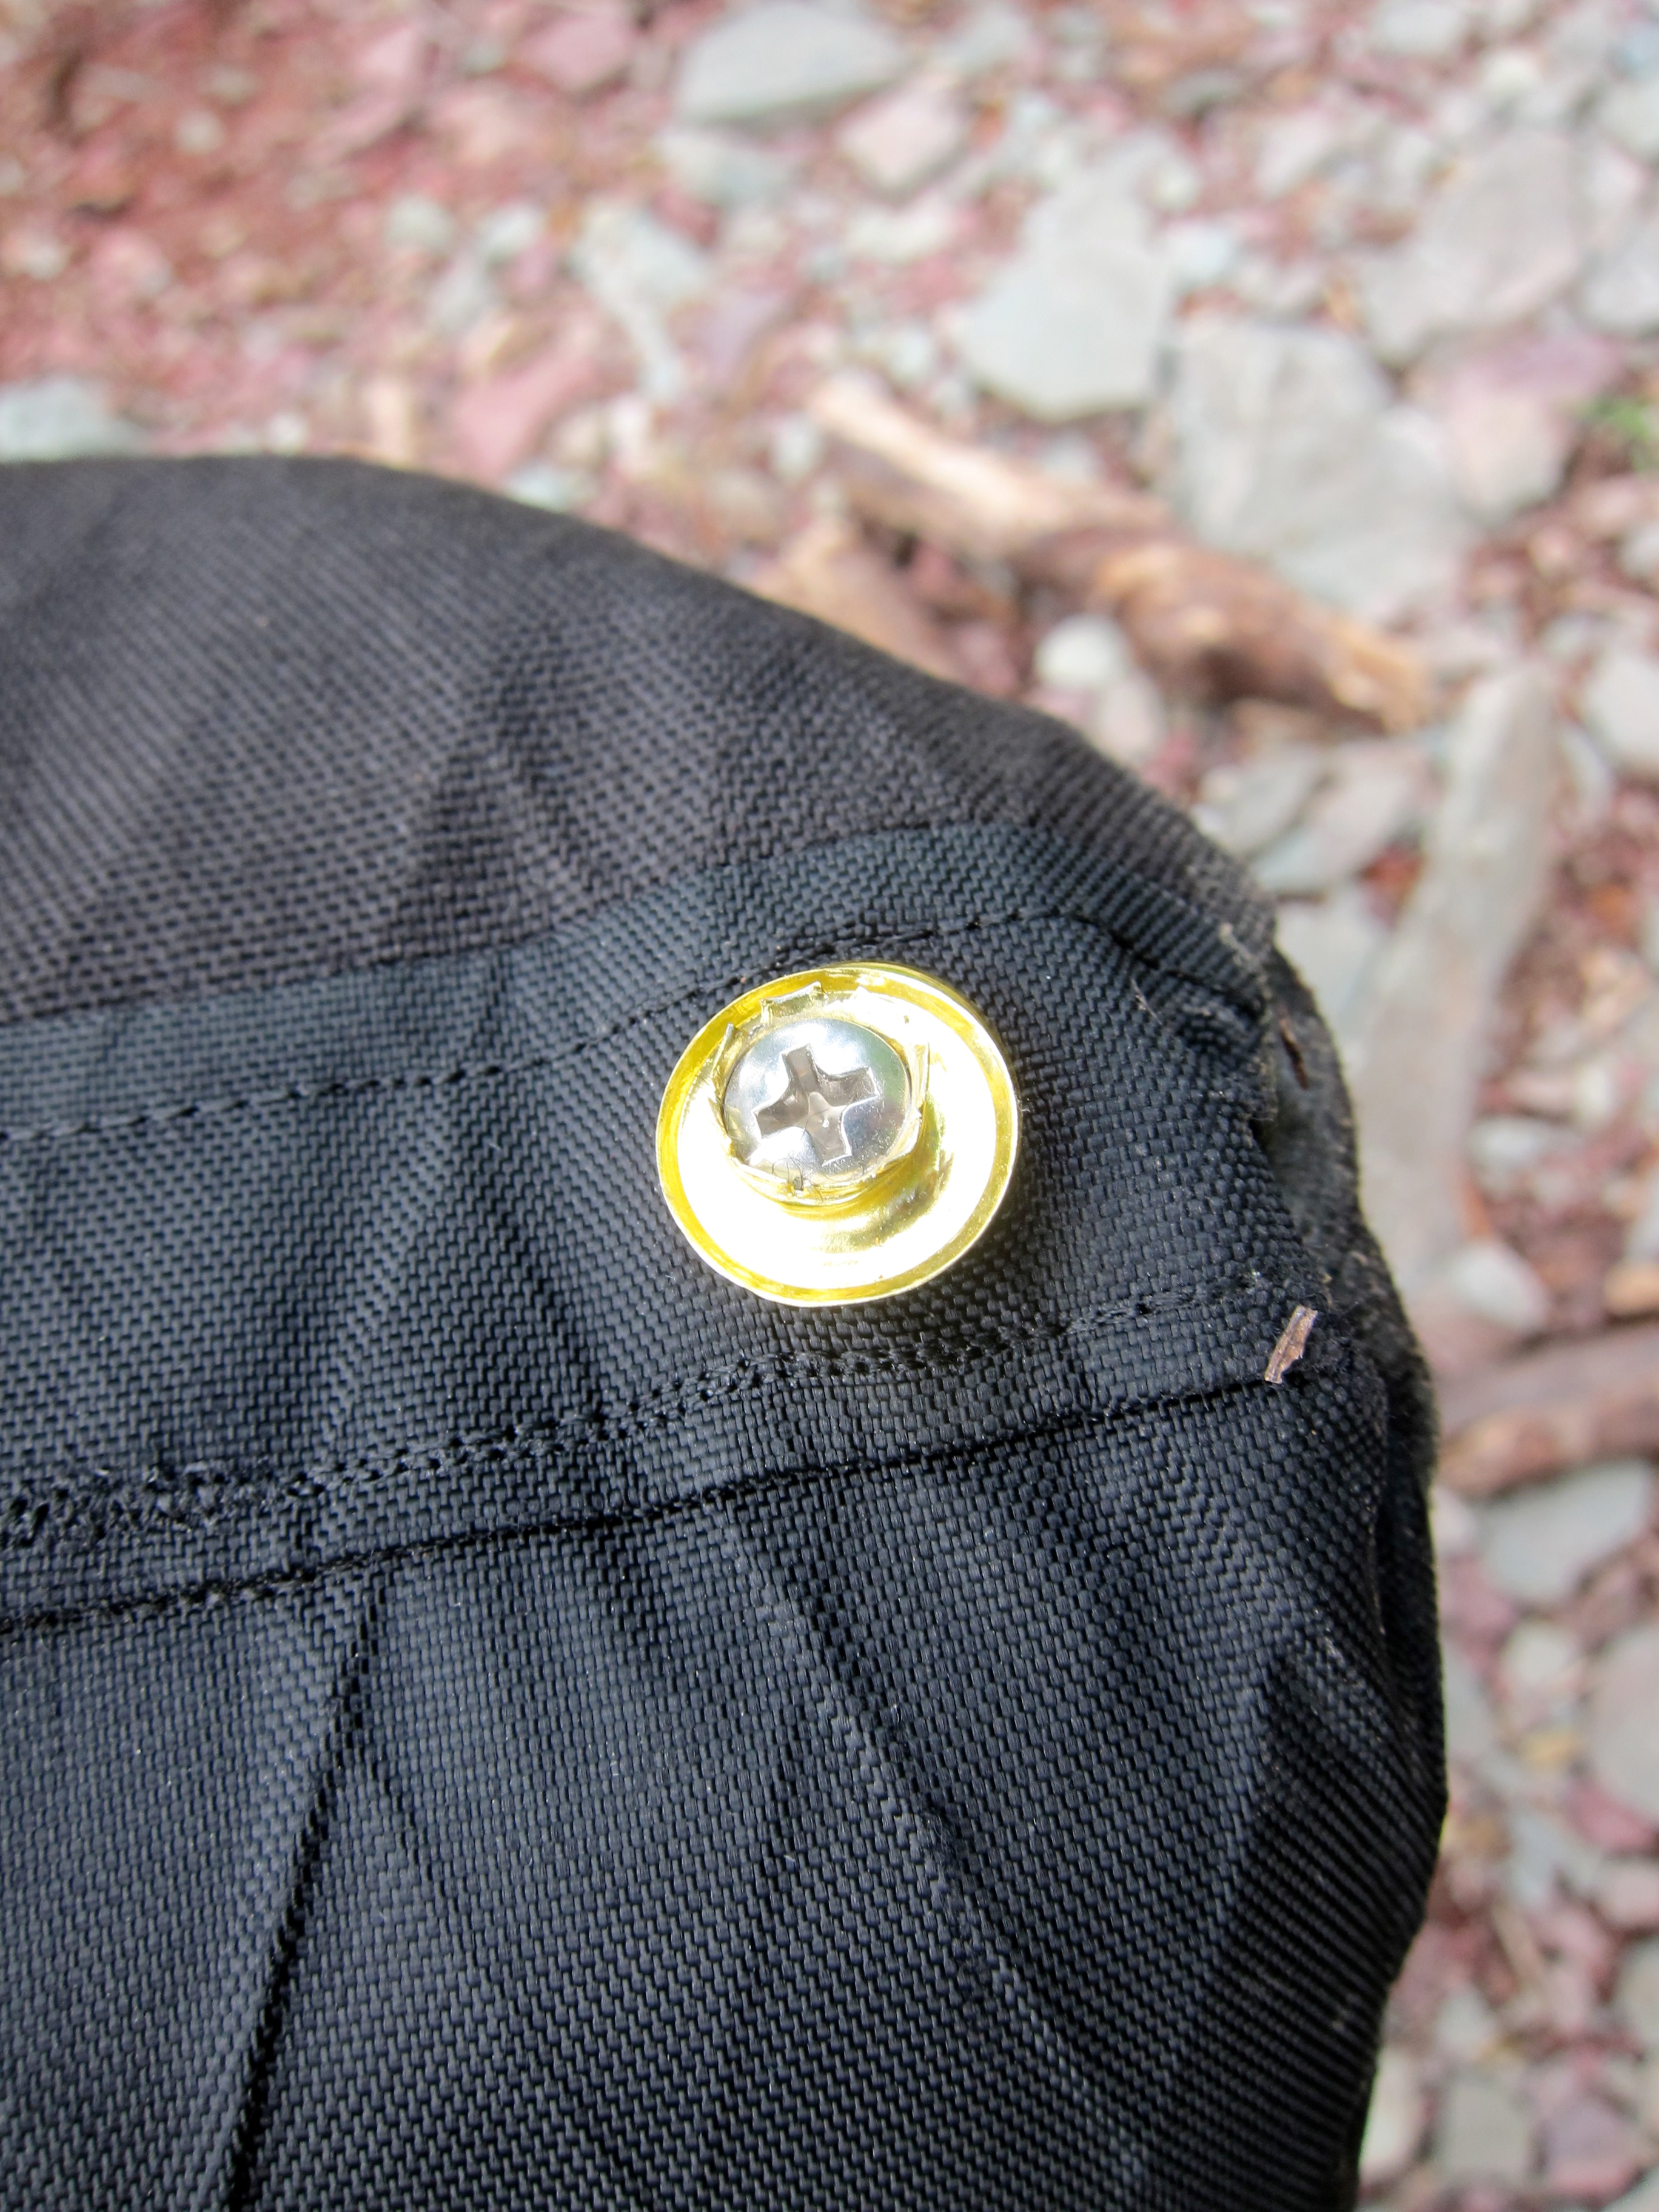
There will always be something which goes wrong when building a pack, and on this one it was the hipbelt attachment. I meant to extend the side daisys low enough to girth hitch on a belt, but as is visible above forgot until everything was completed and adding anything on was rather difficult. It’s worth noting that the X-51 is a very stiff fabric, and a bit difficult to manipulate while sewing. It took a few weeks of consideration, but my eventual solution was grommets in the bottom corners, initially I bolted hipbelt wings directly to the pack, which provided effective weight transfer. I worried about having poky metal bits inside the pack, but before than became an issue too-small washers on the outside of the belt grommets caused said grommets to pull through the material mid-trip. I fixed this by running cord from the inside the pack out the grommets and tying both halves of the belt together through the pack. This works, and allows for a belt which can be easily removed.
Overall dimensions are a 29″ lower circumference, 33″ circumference above the shoulder taper, 27″ height against the back (not counting the secondary shroud), and a back panel width of 9″ at the bottom tapering to 8″ at the shoulders. Weight with the belt attached and a doubled foam pad in the internal sleeve is 26 ounces.
It’s a keeper.

Leave a comment